Global First! Initial Review of the Insta360 Antigravity A1: DJI's Toughest Competitor Arrives?
 08/15 2025
 643
643
How Fun is the First Panoramic Drone?
For civilian aerial photography drones, I cannot claim to be a professional, but I am half an enthusiast. I have experienced entry-level models and also come into contact with flagship models priced at 20-30k, but apart from differences in image quality and obstacle avoidance, they did not bring me much freshness.
Just when I was wondering how to bring new tricks to consumer drones, I suddenly saw a panoramic camera attached to the handlebars.
Right, why not "give wings" to the panoramic camera and turn it into a panoramic aerial photography drone?
Coincidentally, Insta360 and a third party have jointly incubated Insta360 Antigravity, bringing their first drone and the world's first panoramic drone - the Insta360 Antigravity A1. LeiTech also received this product at the first opportunity for an in-depth experience. Without further ado, let's see what level Insta360 Antigravity's first drone, the market's first panoramic drone, has achieved?
(Image source: LeiTech Photography)
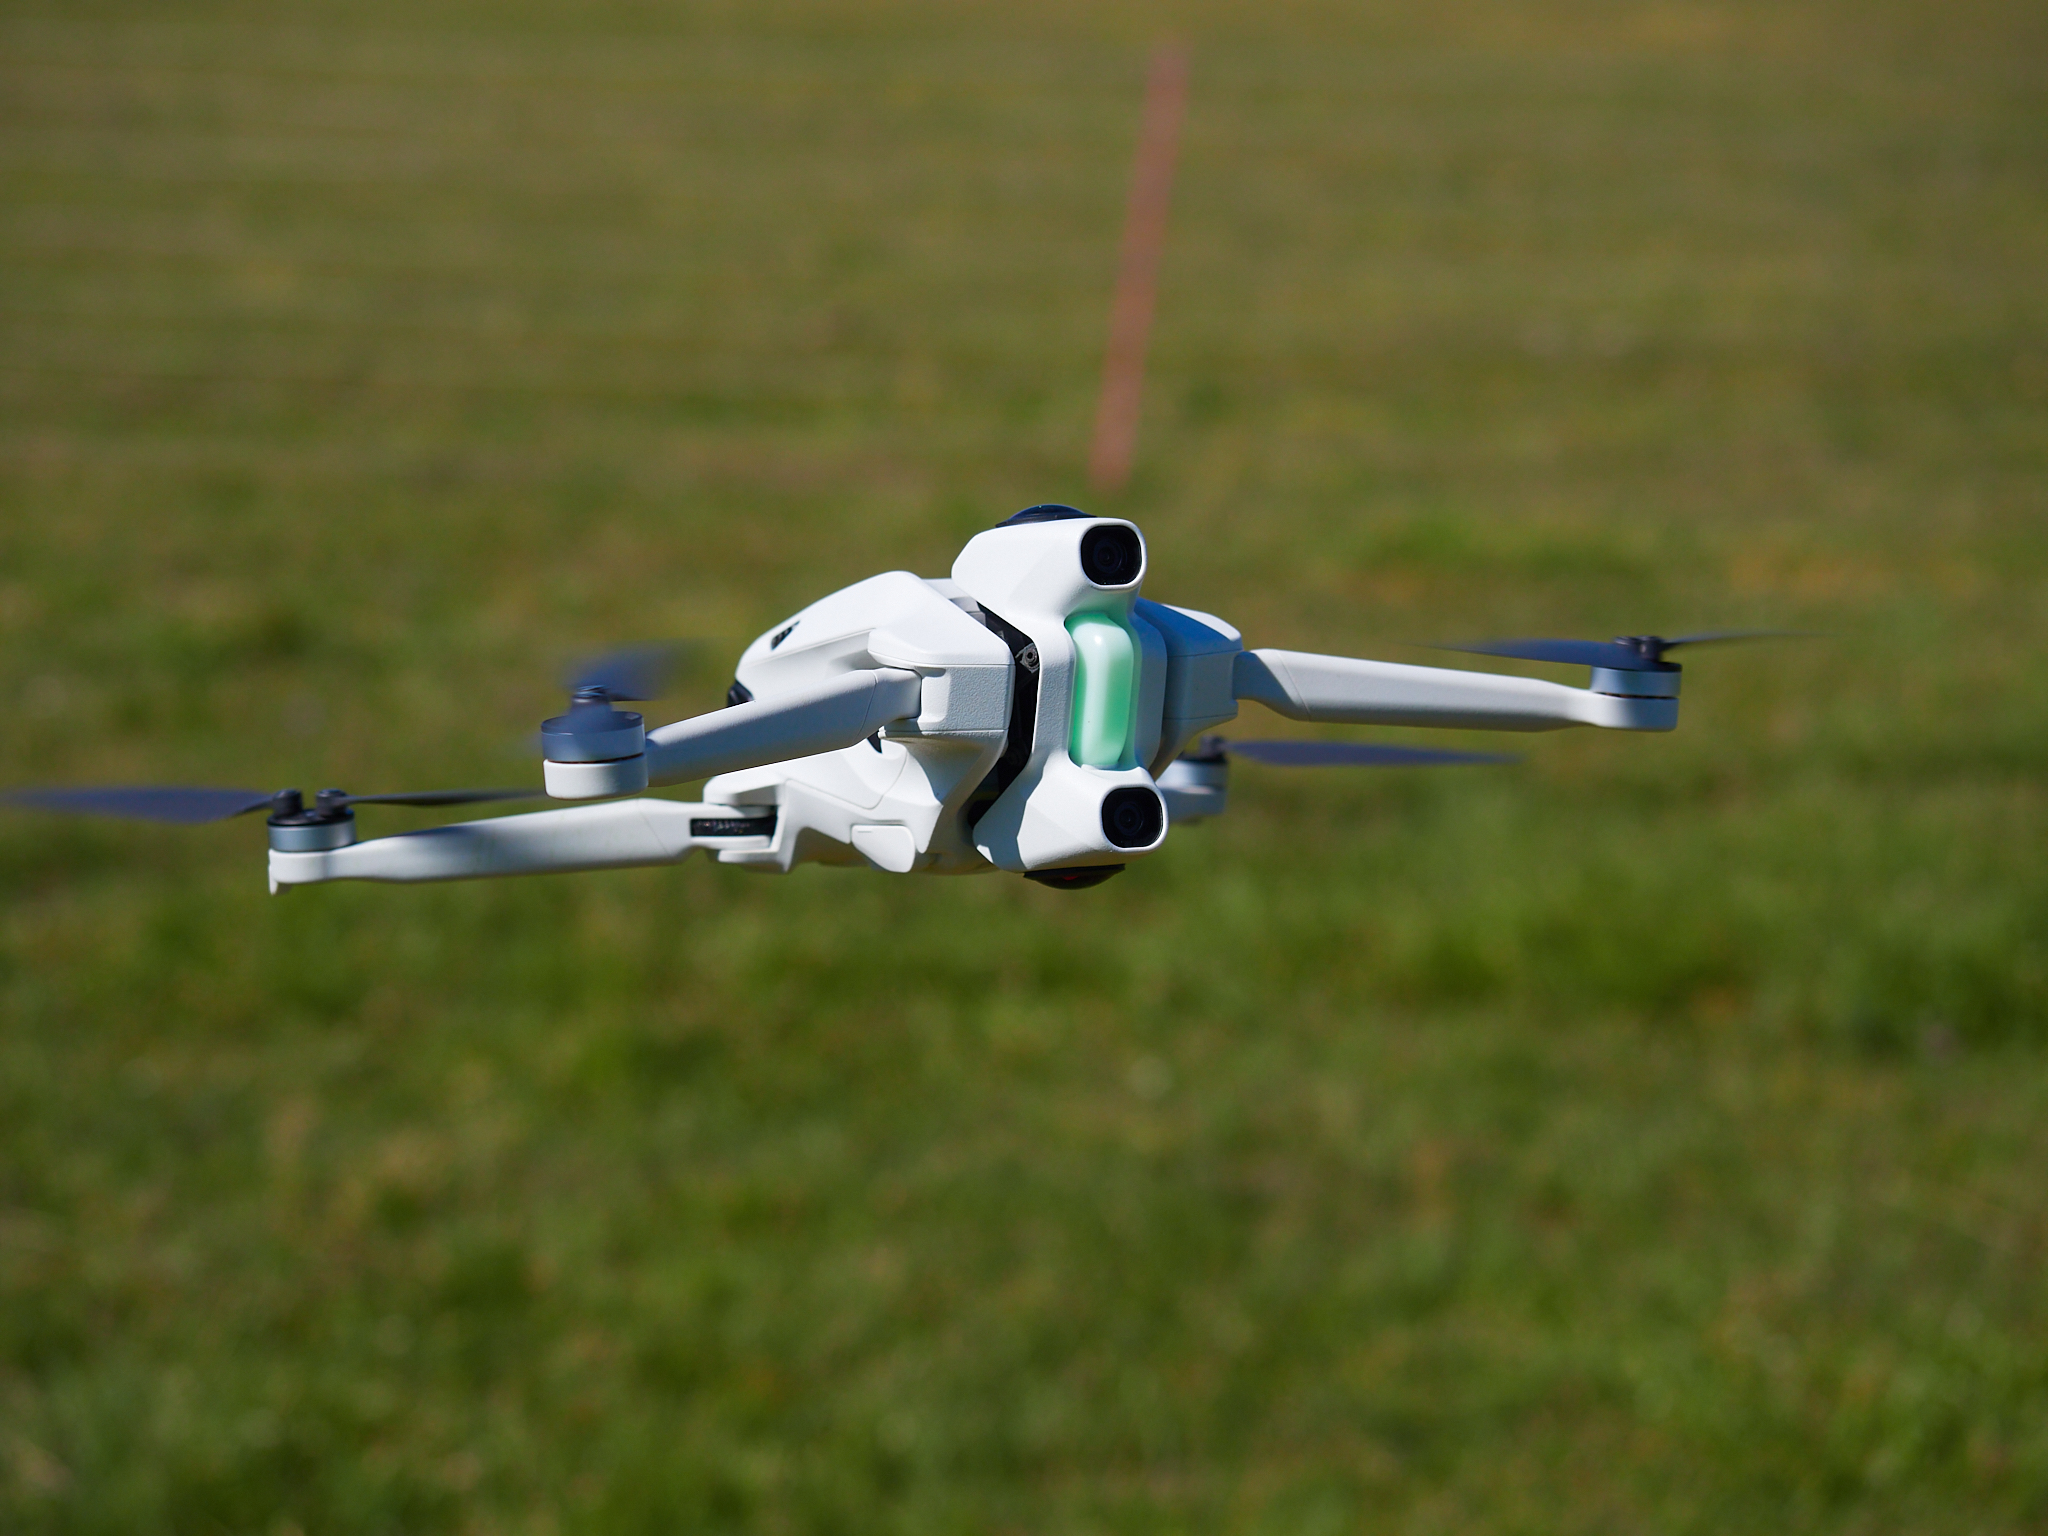
Originally, I thought Insta360's first drone would be a mid-range secondary flagship product, but I didn't expect it to be a mini, easy-to-operate consumer drone.
(Image source: LeiTech Photography)
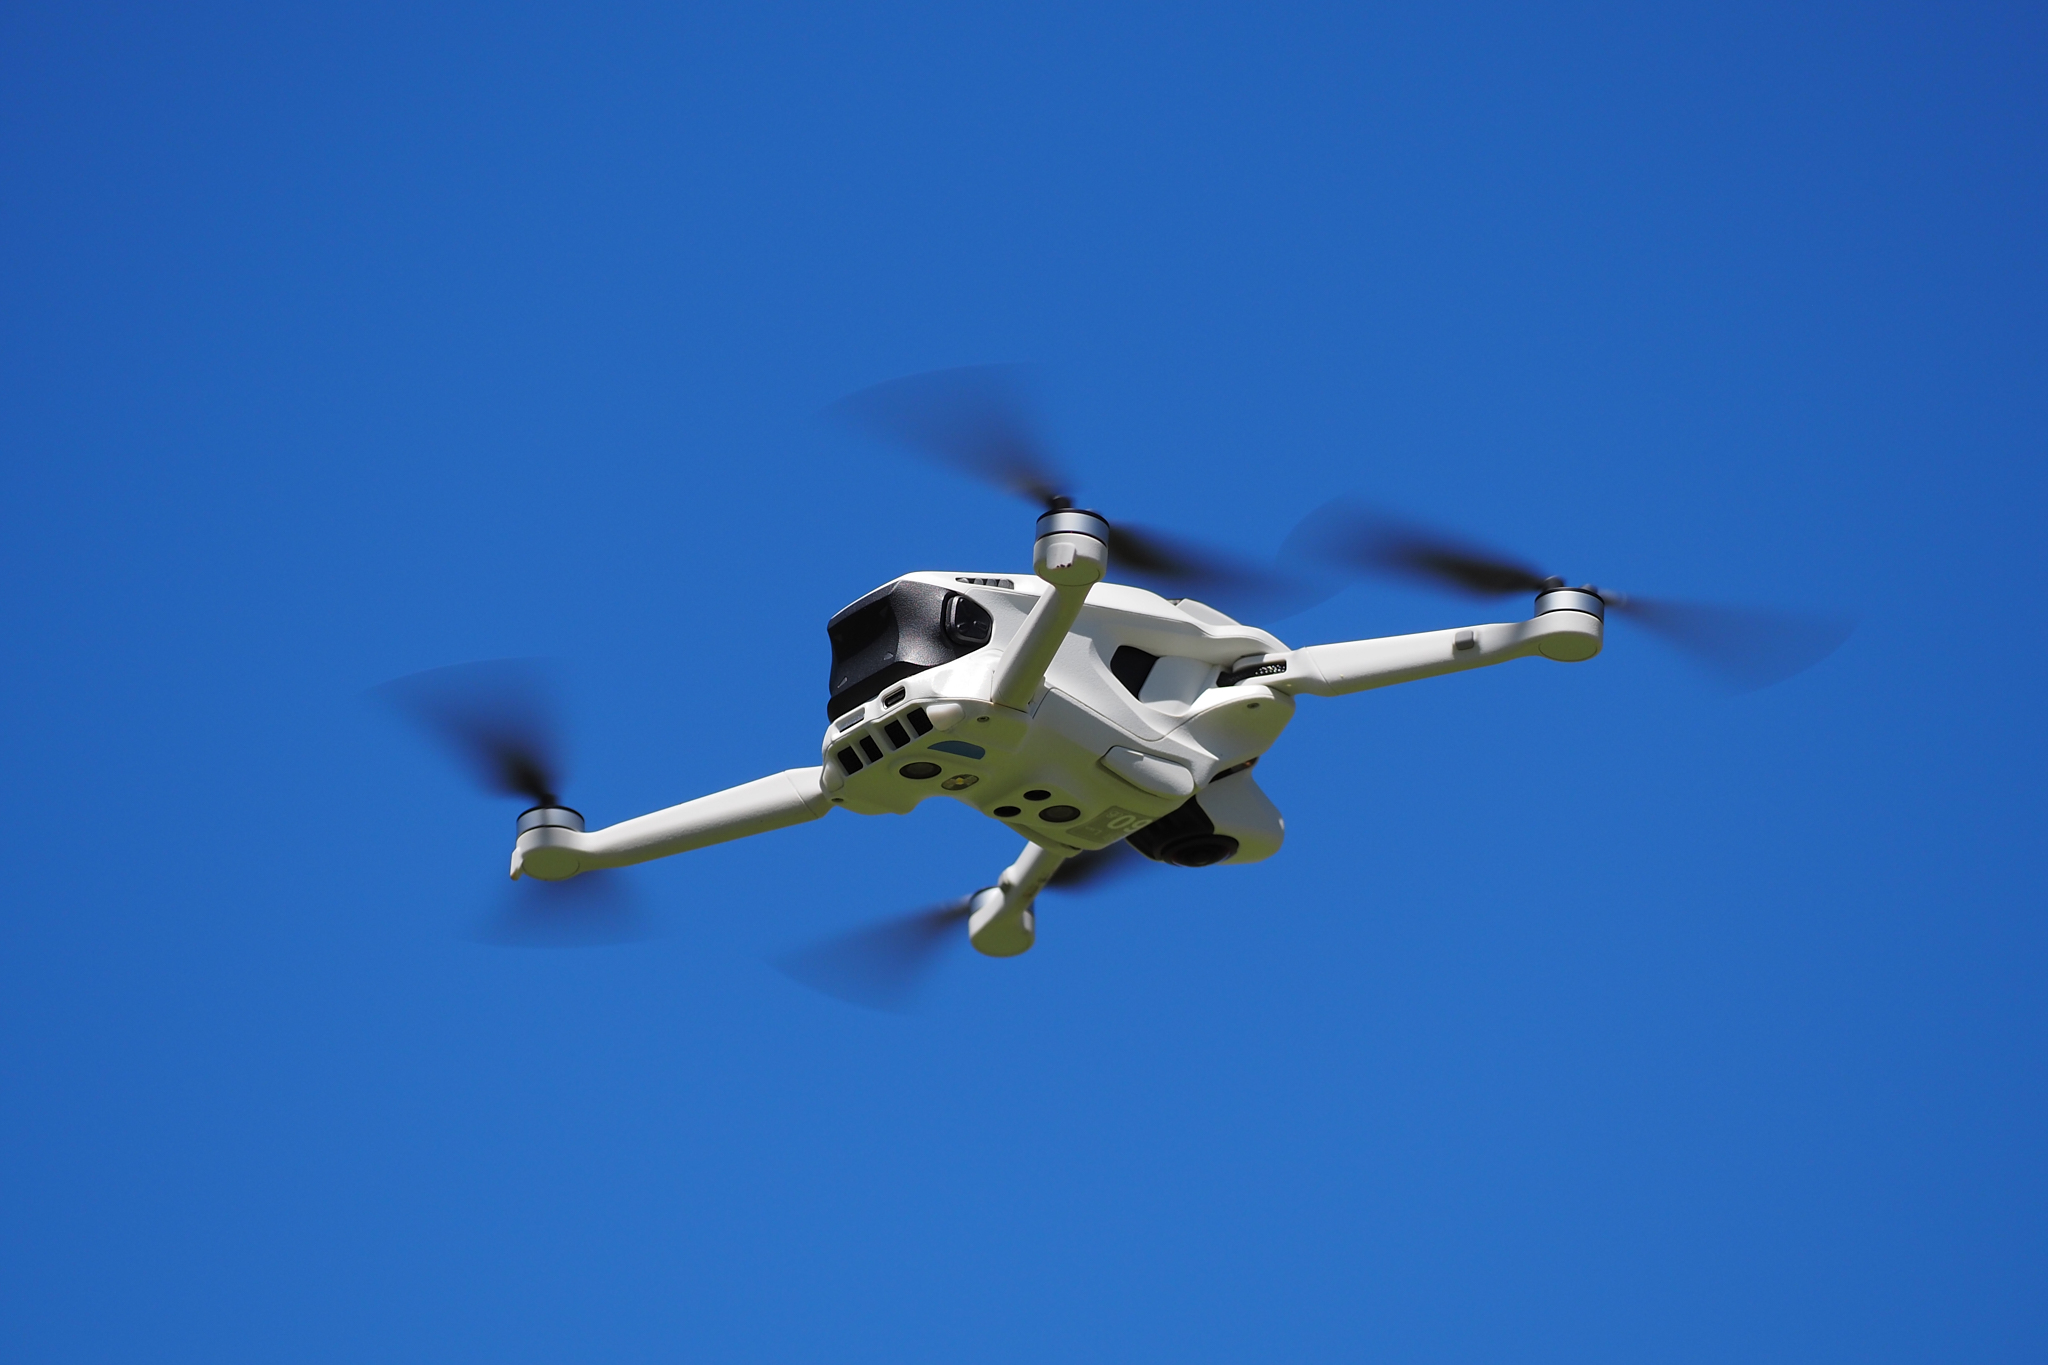
In terms of design, the Insta360 Antigravity A1 is not much different from mainstream drones. It does not employ flashy and impractical designs just to stand out.
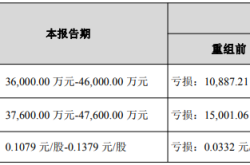
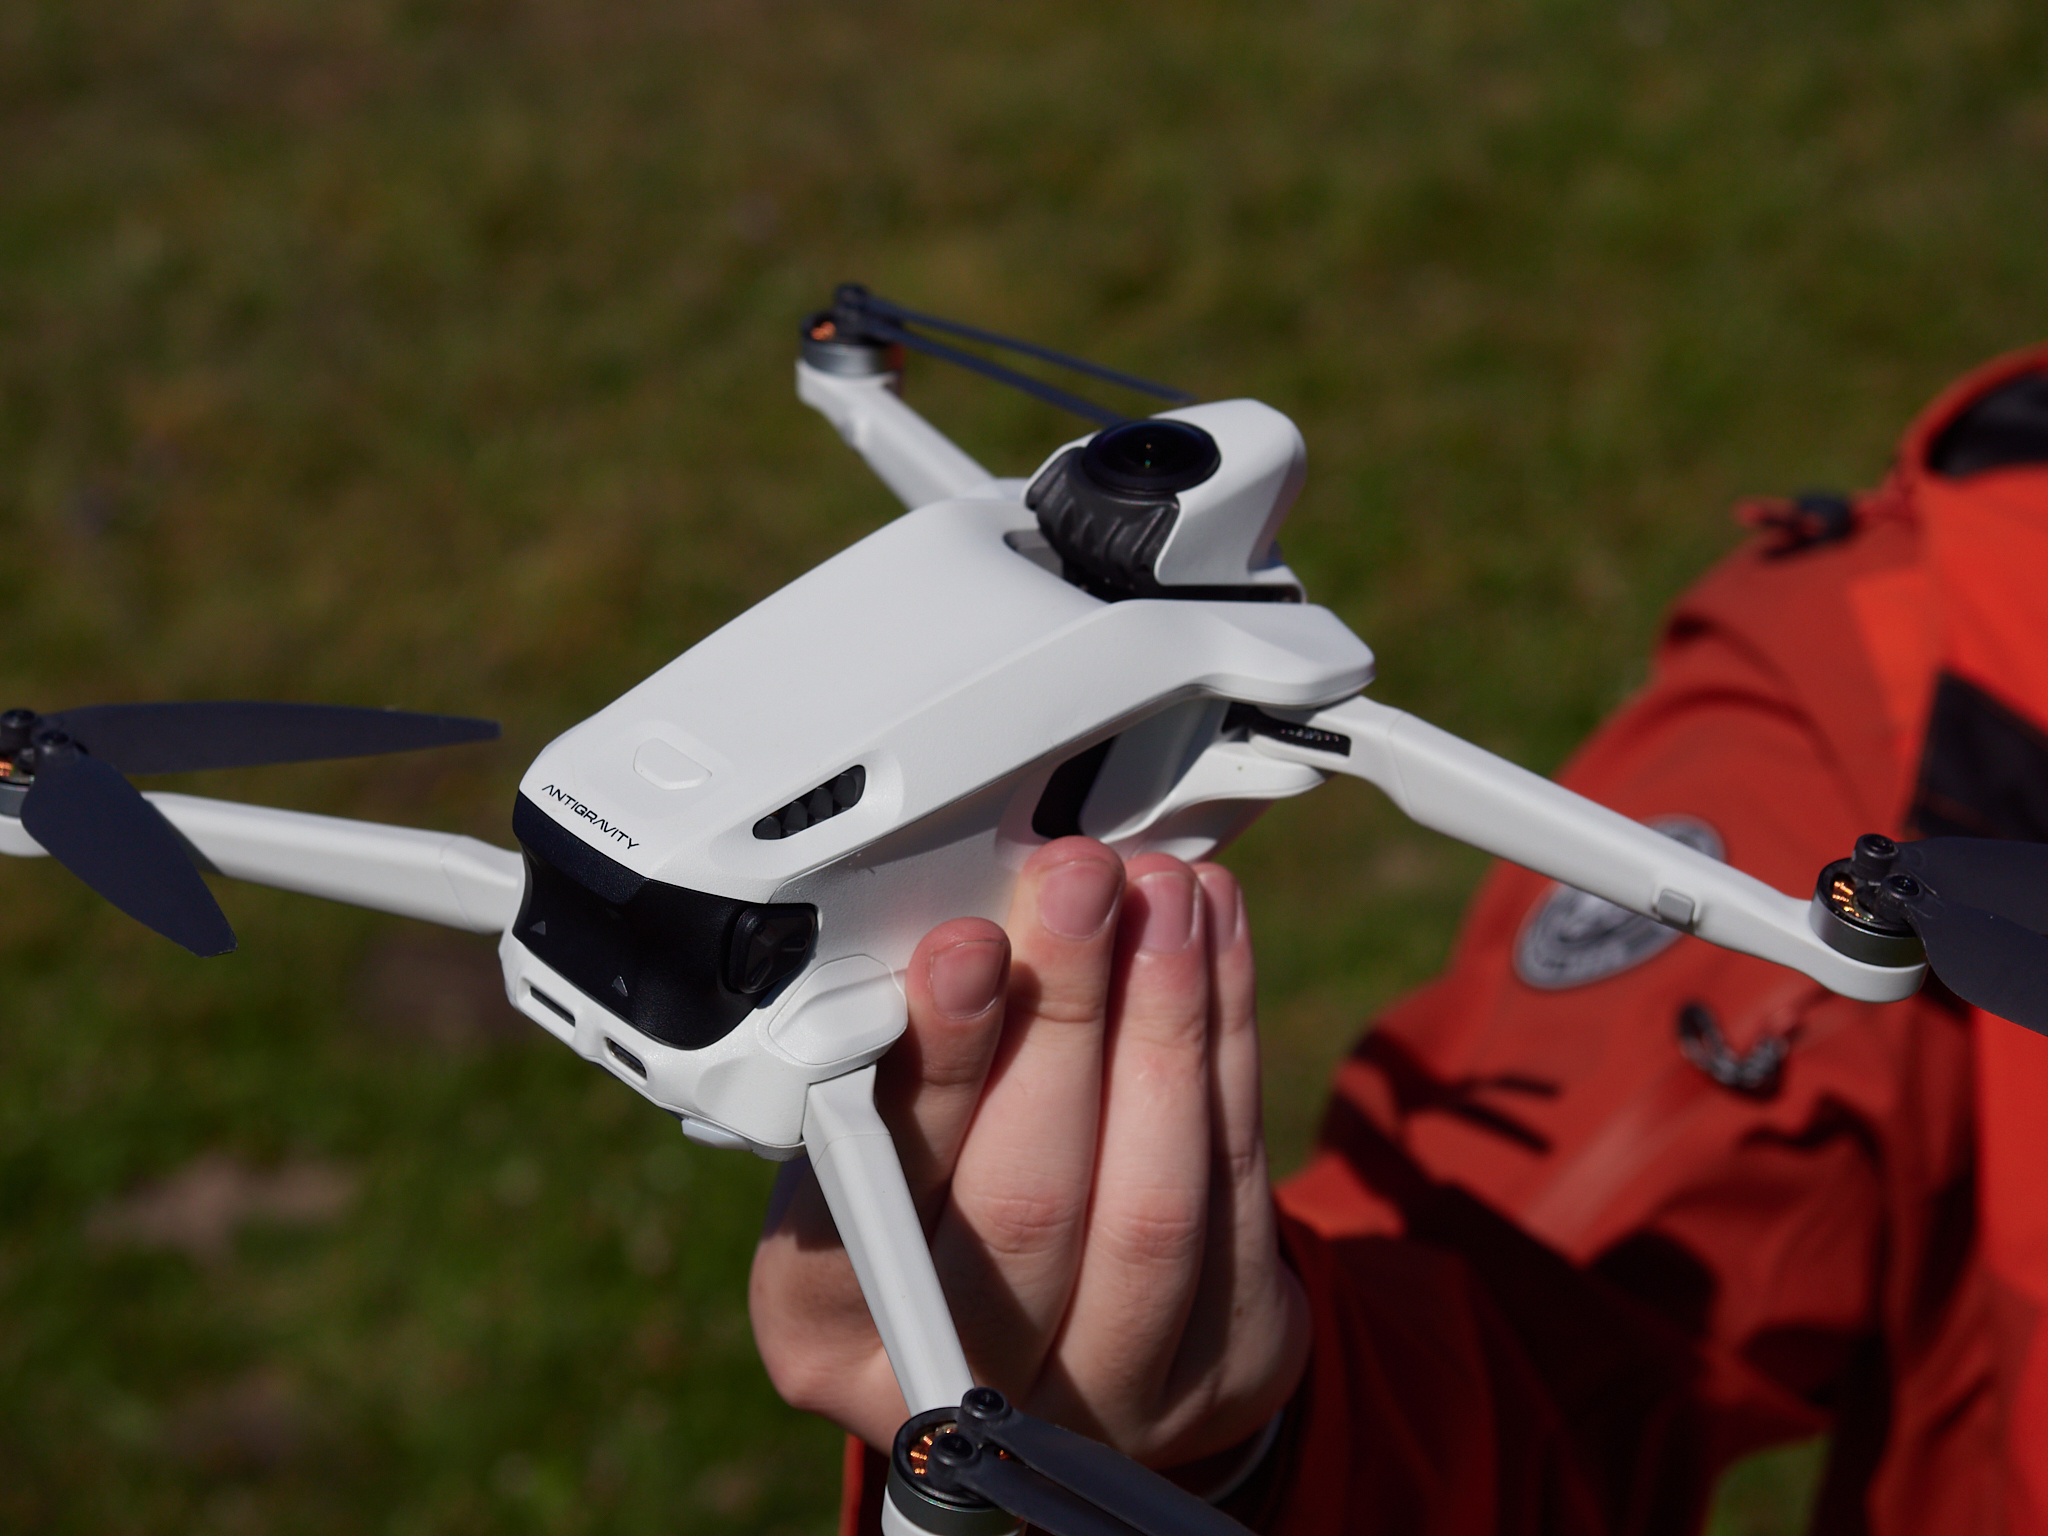
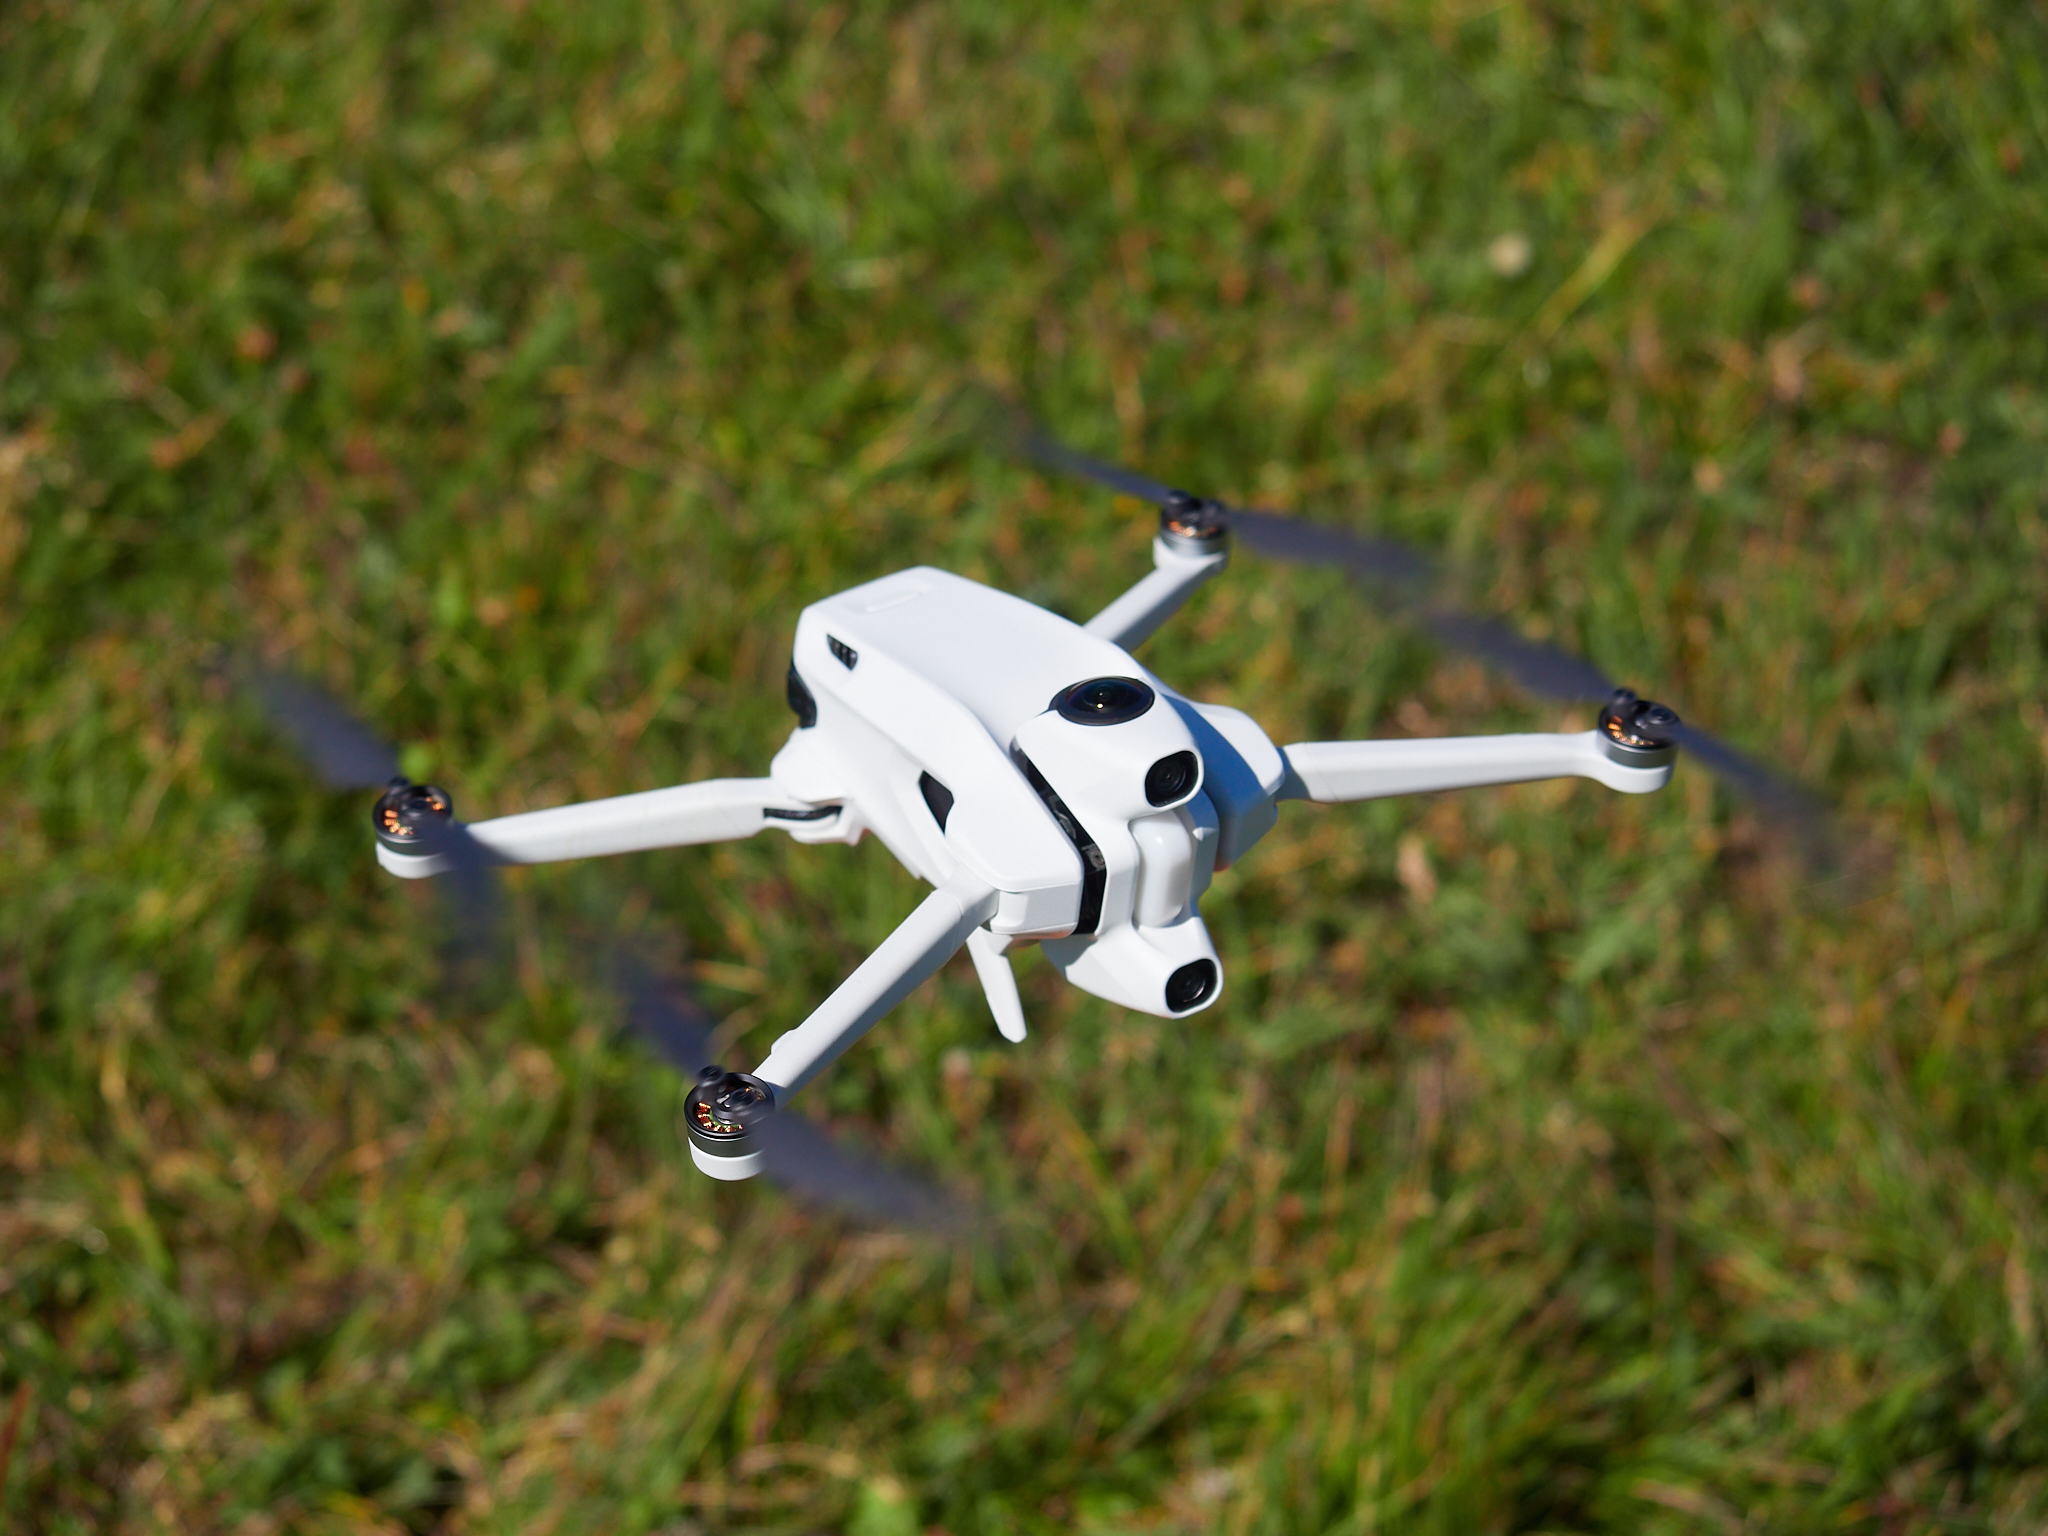
However, the design of the lens module on the Insta360 Antigravity A1 is very interesting, consisting of two obstacle avoidance lenses in front and two panoramic fisheye lenses above and below.
(Image source: LeiTech Photography)
I must admit that when I first saw the Insta360 Antigravity A1, I thought the design was too abstract, with the lens module seemingly forcibly embedded into the drone body. But after the subsequent experience, I realized that this design might be the optimal solution for panoramic drones at present.
The bottom of the Insta360 Antigravity A1's body also has two lower vision sensors, two tof modules, and a fill light. In other words, the Insta360 Antigravity A1 uses a traditional visual obstacle avoidance solution. However, for an aerial photography drone weighing only 249g, forcibly using a radar obstacle avoidance solution would compromise the camera, battery, heat dissipation, and motors.
(Image source: LeiTech Photography)
Perhaps to prevent various complex ground materials from scratching the bottom sensors, the Insta360 Antigravity A1 innovatively includes a pair of mini landing gear that automatically retract when the drone takes off and deploy when it lands. I personally love this small detail.
(Image source: LeiTech Photography)
Unlike mainstream drones, the Insta360 Antigravity A1 comes with a pair of flight goggles equipped with a Mirco OLED screen (which can be regarded as a VR headset), an external battery for the headset, and a motion controller in addition to the drone itself.
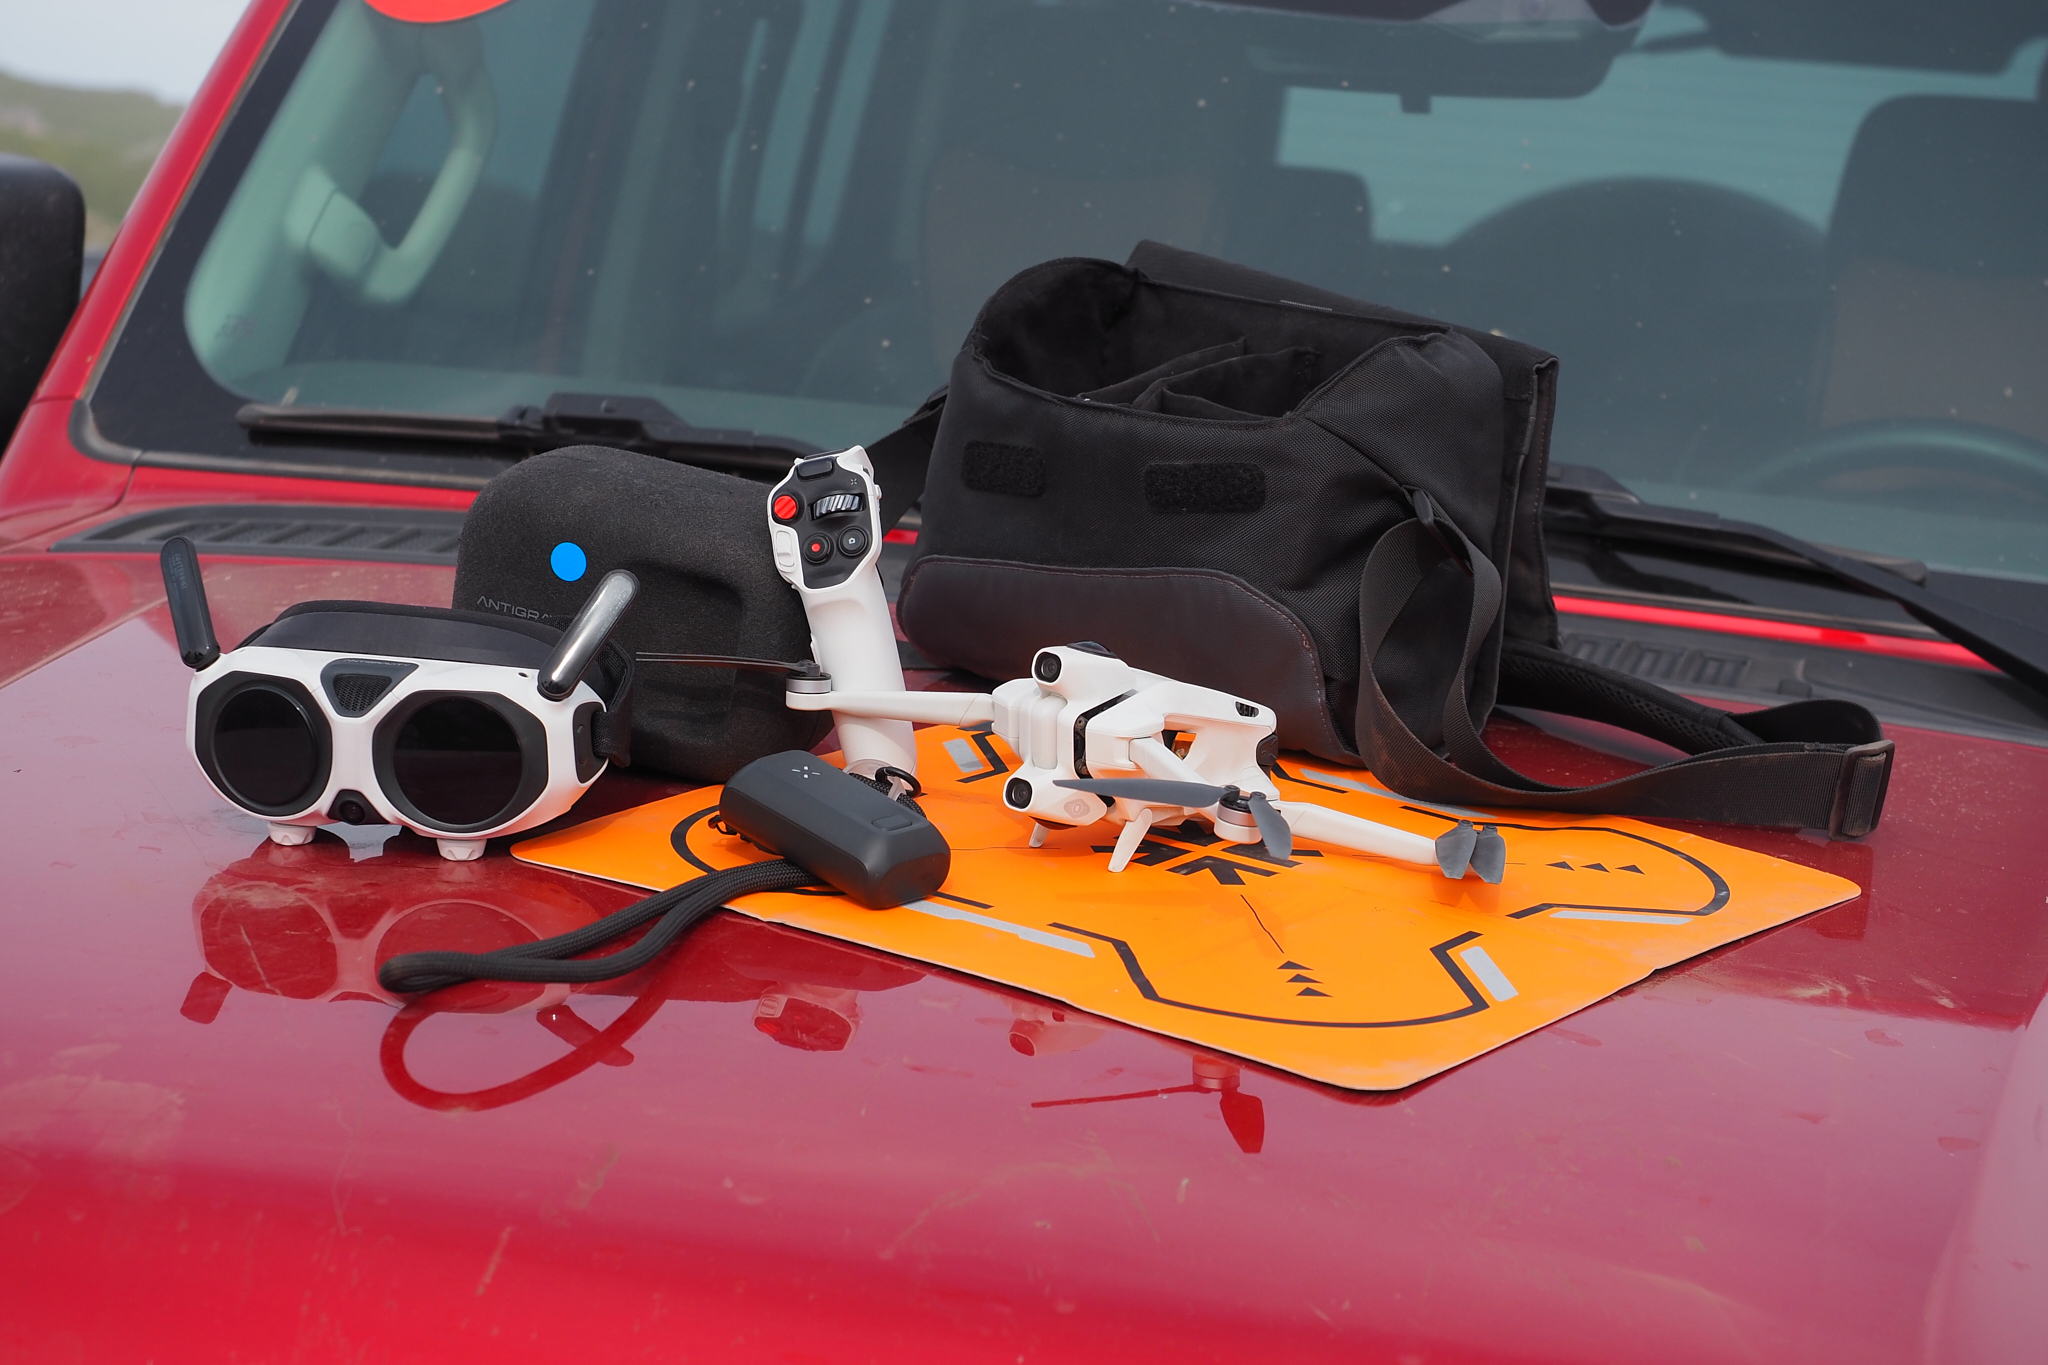
(Image source: LeiTech Photography)
The motion controller deserves a separate mention. Due to the presence of the independent headset, it does not require an additional thick and heavy screen. The overall design is somewhat similar to the control stick on an airplane, emphasizing one-handed use.

(Image source: LeiTech Photography)
If you have previous experience operating aerial photography drones, you will definitely feel uneasy when first using this motion controller: how to make it fly left, how to descend, how to switch views, etc.
Yes, its operation logic is not just controlling the direction through the joystick on the controller. The controller also has a built-in gyroscope that can change the flight direction based on the user's gestures. Under the combined control of the joystick and motion sensing, it gives you a feeling of flying a plane. This smooth sensation is something I have never experienced before.
Here is a brief list of the functions of the controller: The dial knob on the main interface can adjust the drone's viewing angle. The red button has return and pause functions. The push-pull button below it can control the drone to fly up or down. The red dot button starts/stops recording, and the button with the camera icon is for taking photos.
(Image source: LeiTech Photography)
On the right side of the controller are the power switch button and a customizable button. However, I must say that this customizable button is too far from the palm. Even with my large hands, it's difficult to reach it with my index finger. As a result, during the few days of experience, I almost forgot about its existence.
There is also a trigger button on the back of the controller, equivalent to the accelerator pedal when driving a car, which will continuously speed up/slow down the flight speed according to the intensity of your press.
The design of the flight goggles is also very interesting. Not only can the wearer see the drone's perspective through the built-in Mirco OLED screen, but there is also a display area on the outside of the goggles. Accompanying personnel can also see the drone's perspective through this screen.
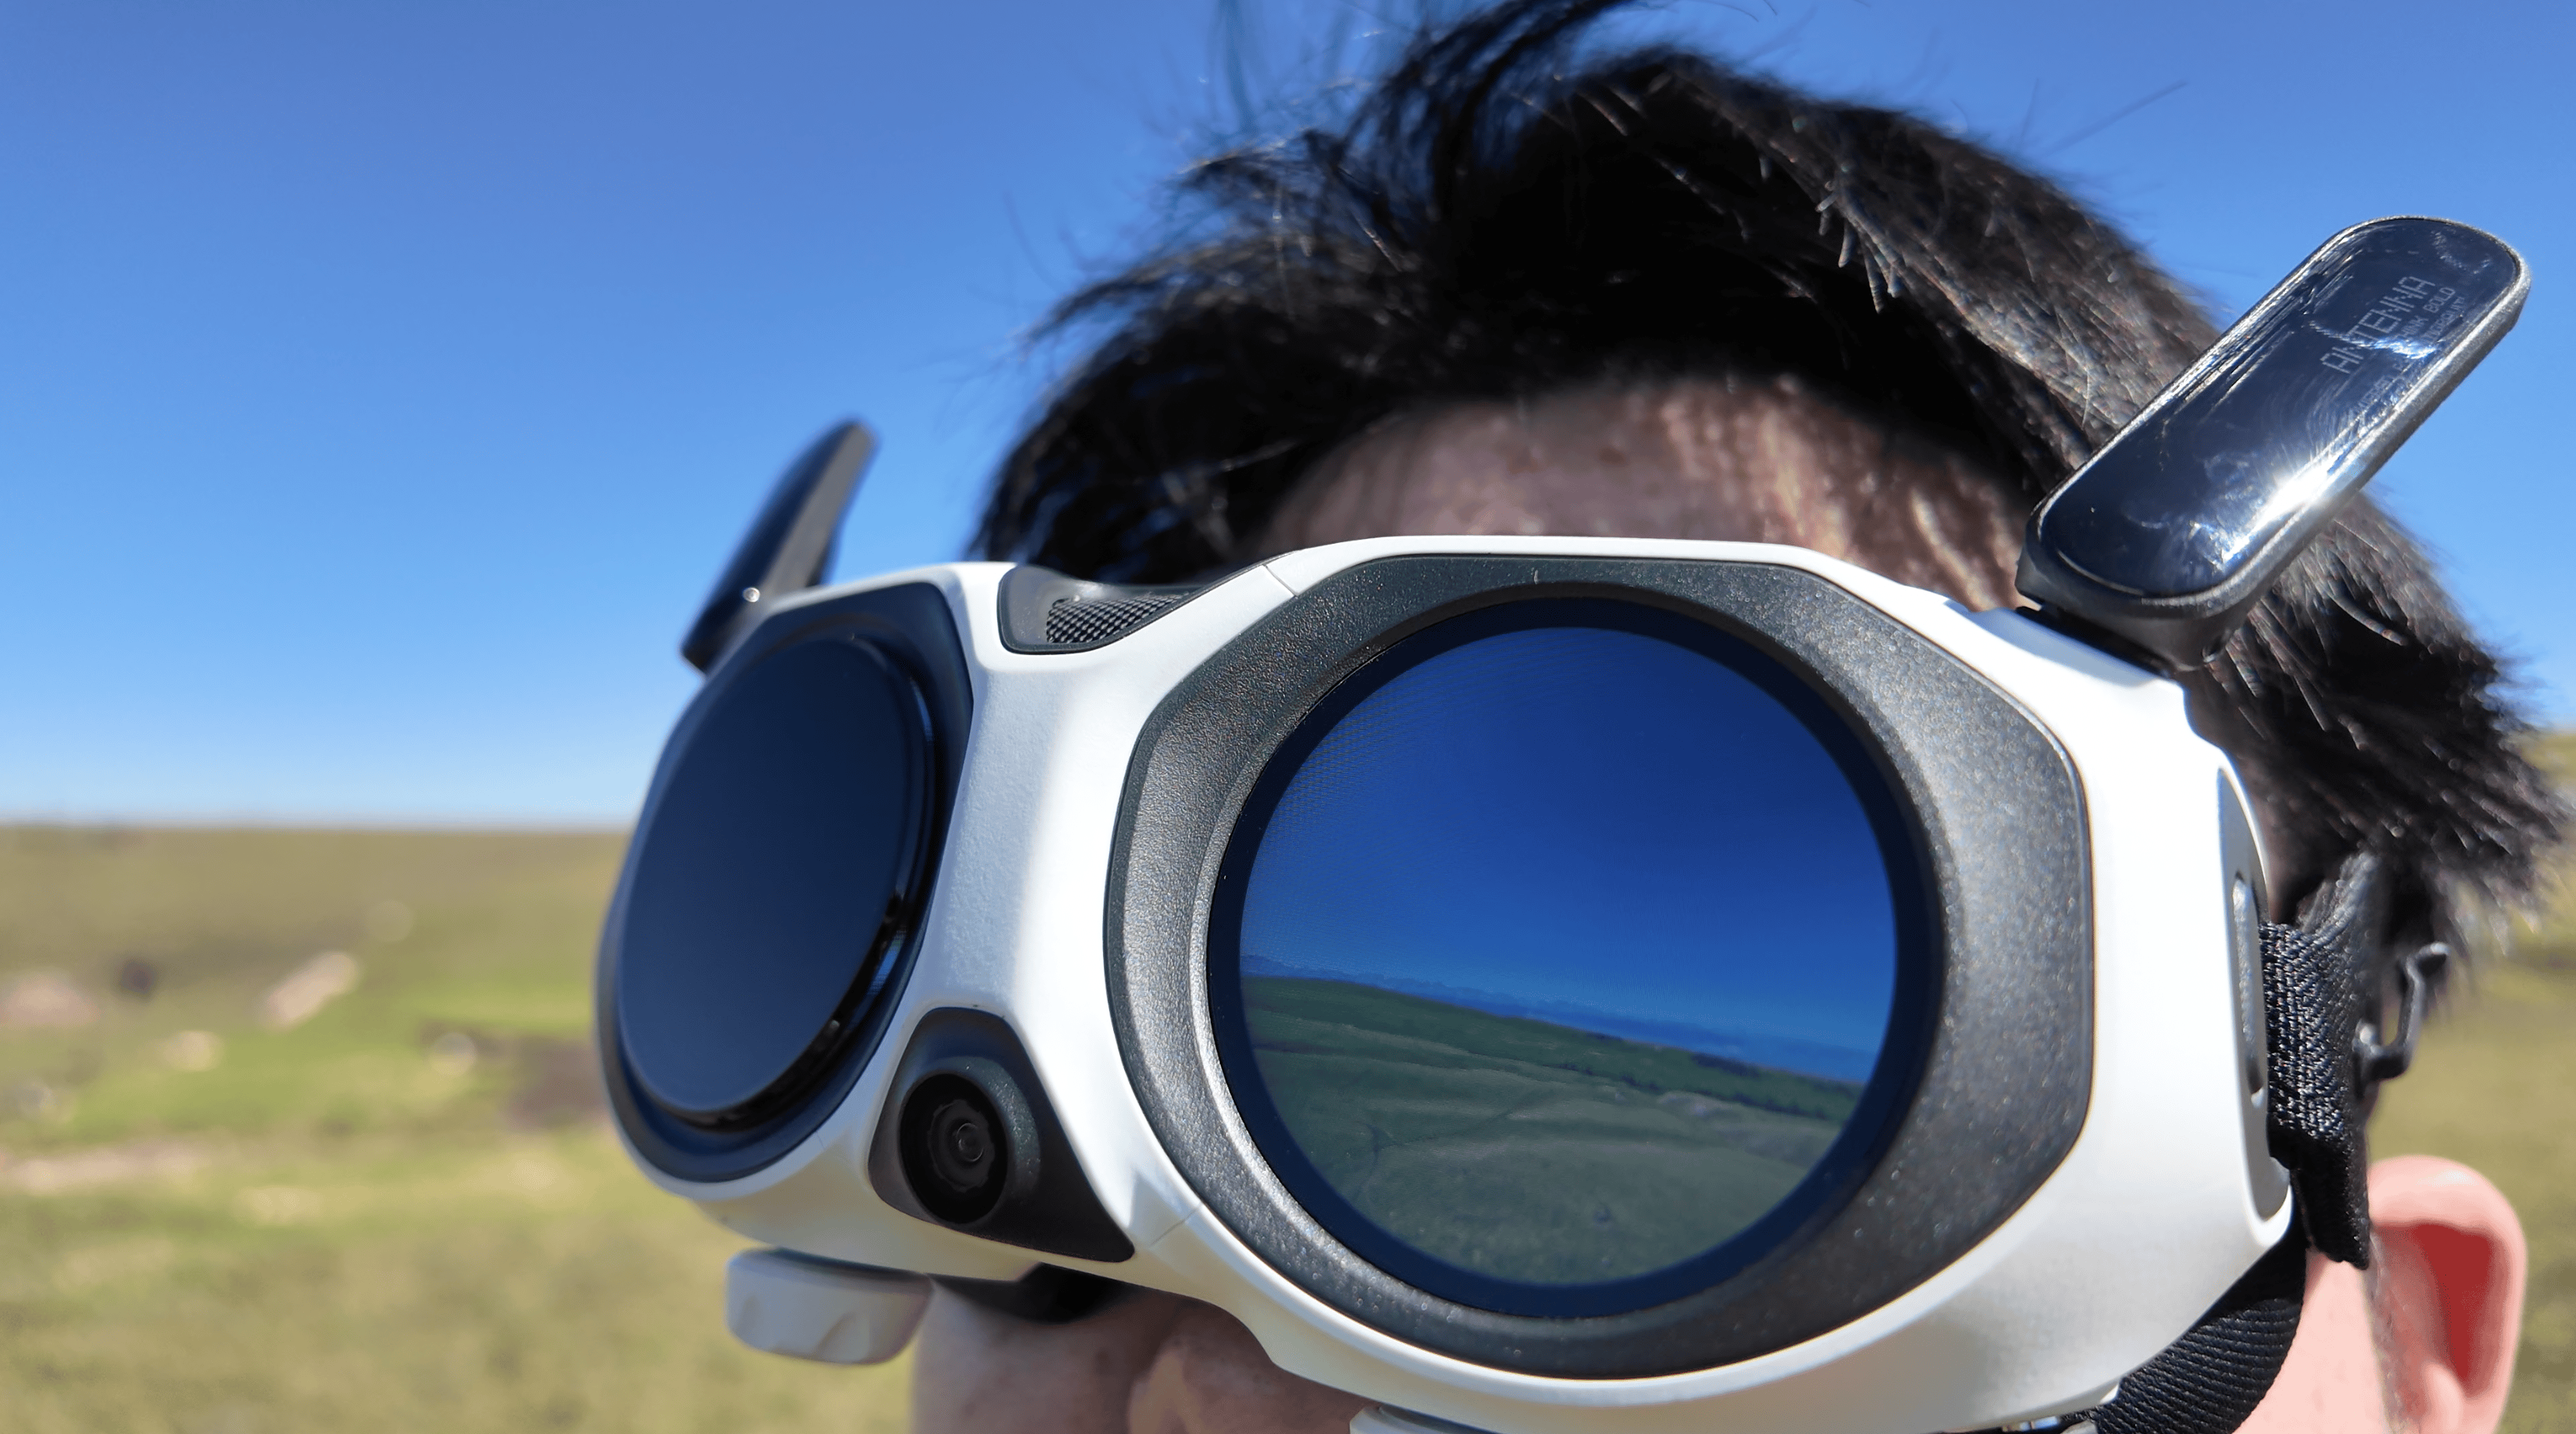
(Image source: LeiTech Photography)
Overall, although the Insta360 Antigravity A1 is Insta360's first drone, I don't see much imitation in it. Whether in terms of appearance, usage and operation methods, or shooting experience, it is completely different from mainstream drones and has created its unique experience. I highly approve this.
According to the official introduction, the Insta360 Antigravity A1 uses the same level of CMOS as the Insta360 X5 panoramic camera. However, due to the different form factor and shooting methods of the drone, Insta360 honestly states that its image quality is roughly between the Insta360 X4 and X5.
In terms of video specifications, the Insta360 Antigravity A1 supports up to 8K resolution. The extremely high resolution means that we can make secondary or multiple adjustments in post-production.
Unlike mainstream drones that compose first and then shoot, the shooting logic of panoramic drones tends to be shoot first and compose later. In other words, the scene you want can basically be obtained by adjusting the angle in post-production.
If you have previous experience using panoramic cameras, you will be familiar with this post-editing process. It is very simple and easy to understand.
Without further ado, let's show you directly.
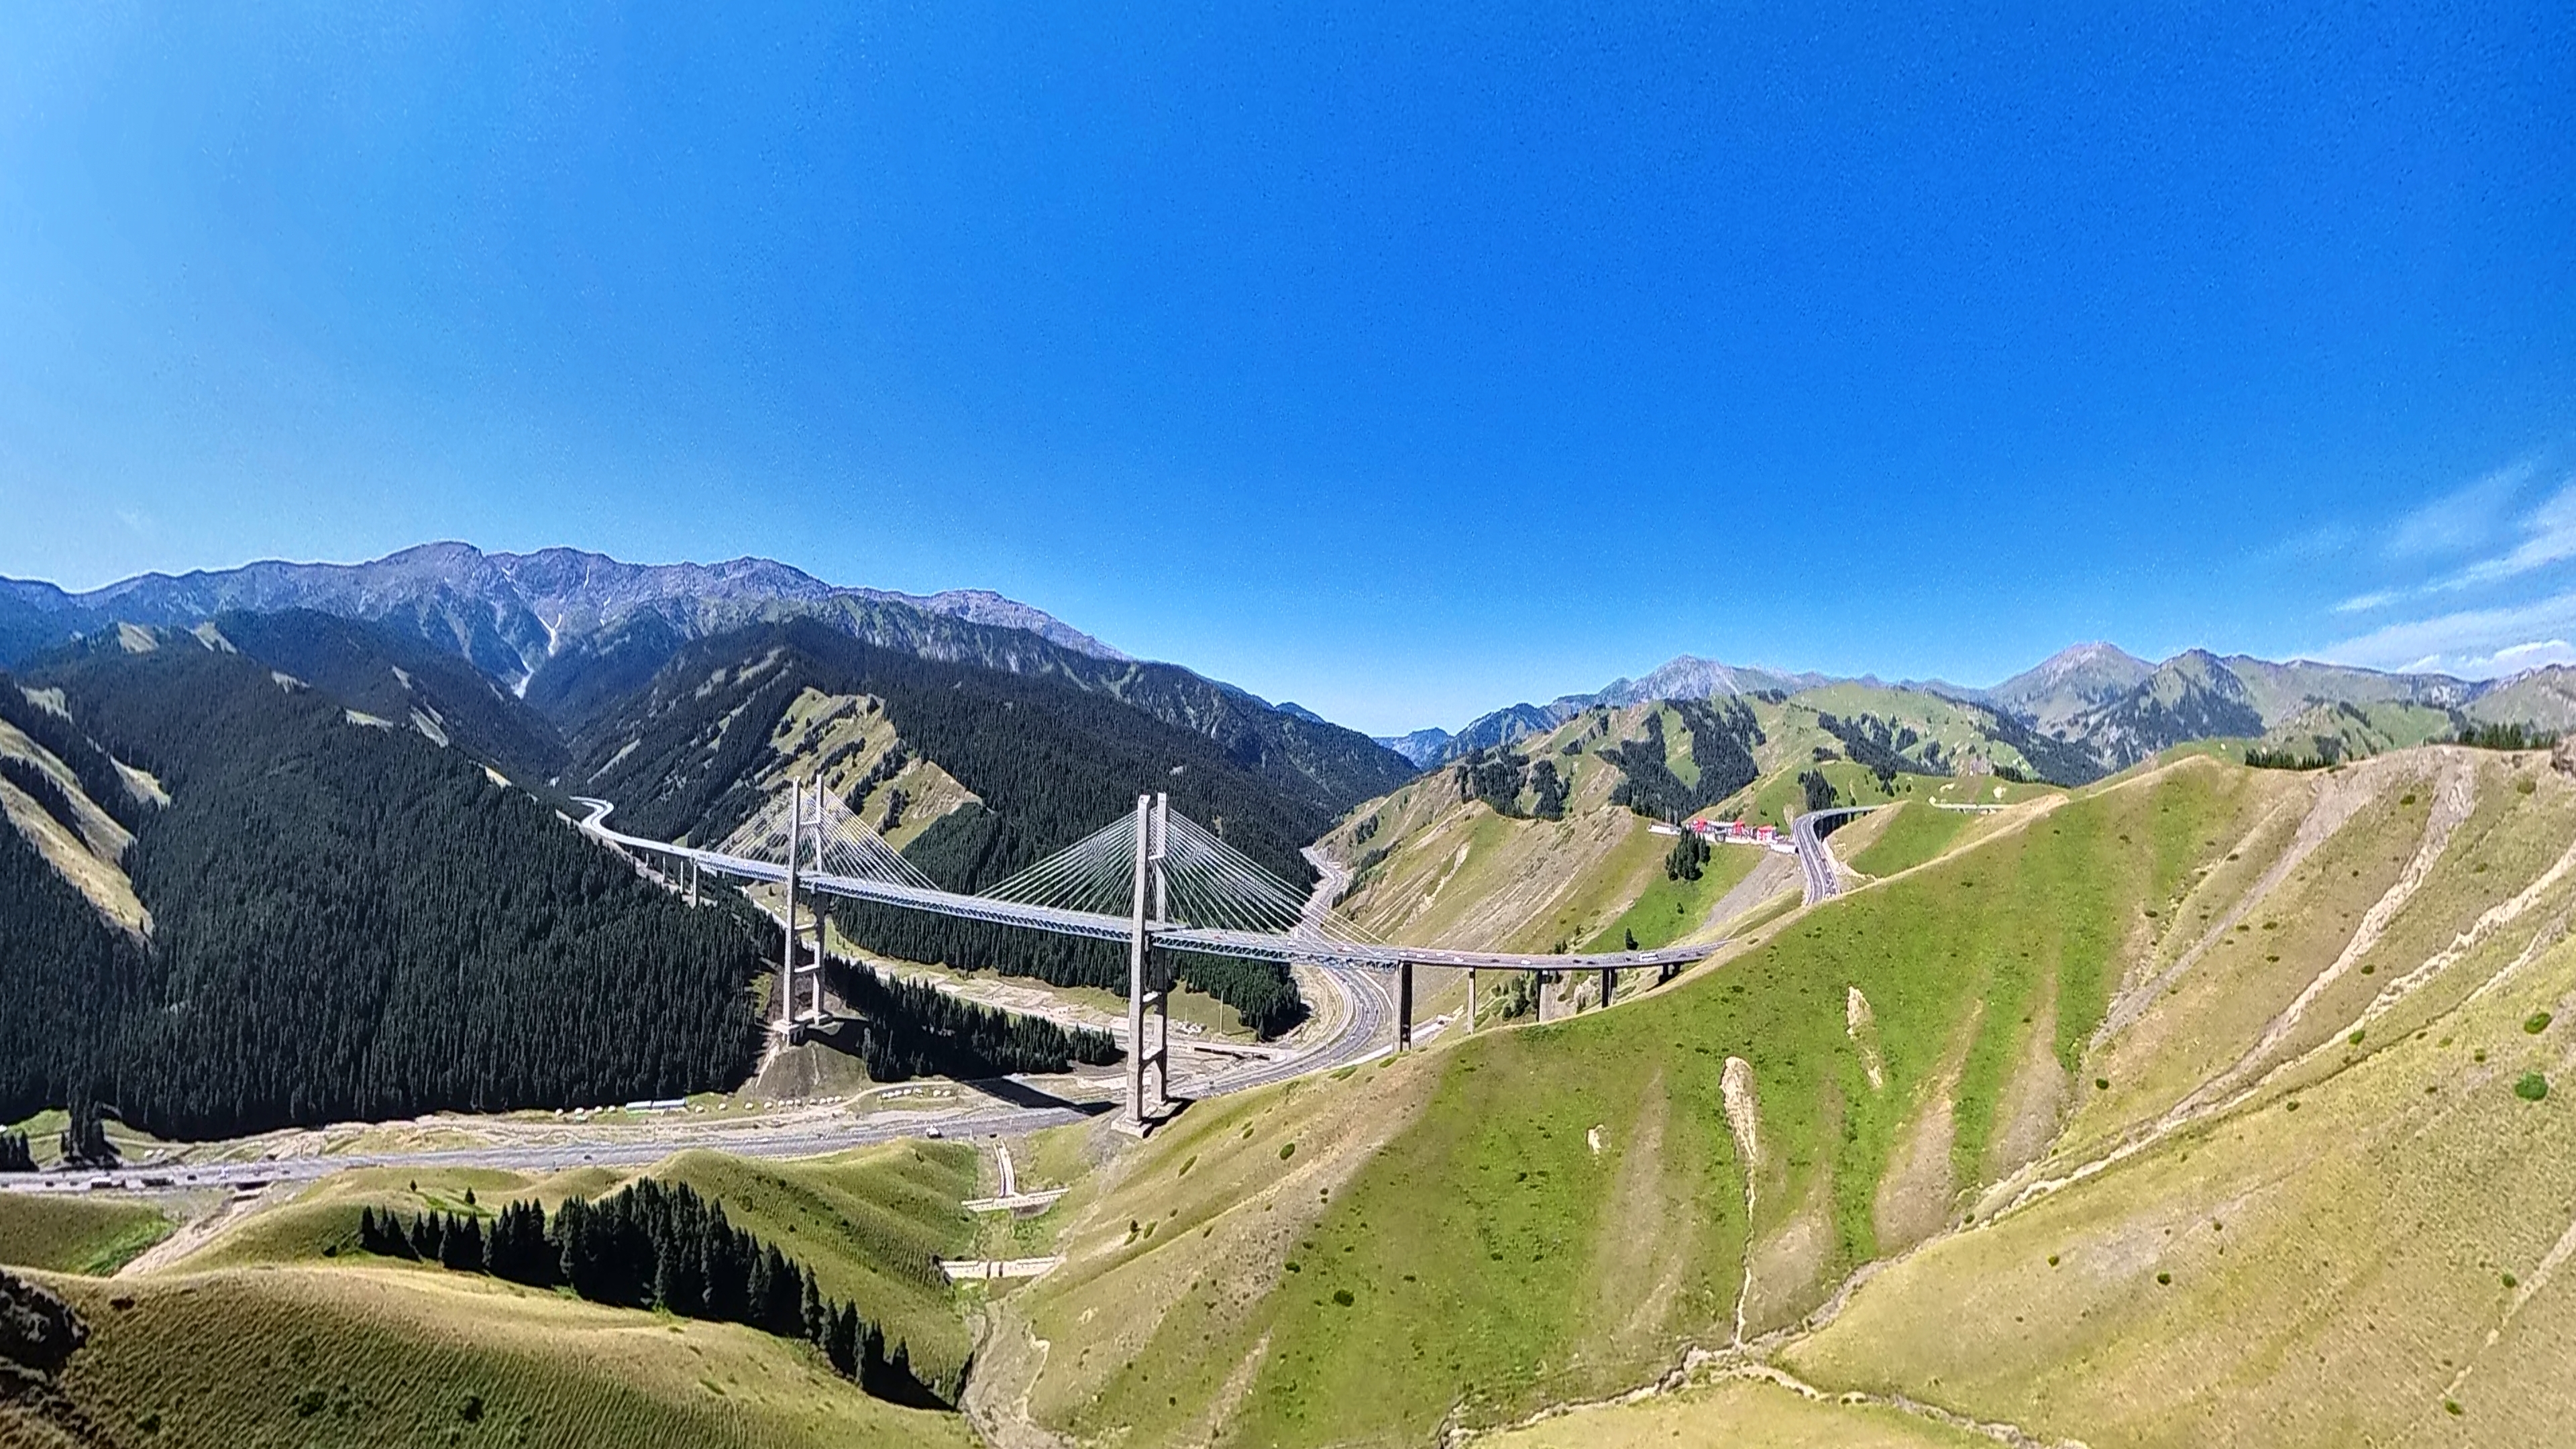
First, we can see that under excellent lighting conditions, the Insta360 Antigravity A1 performs very well in terms of color, image quality, and clarity. Coupled with the support of an ultra-wide field of view, it is easy to take a visually impactful photo in an open area.
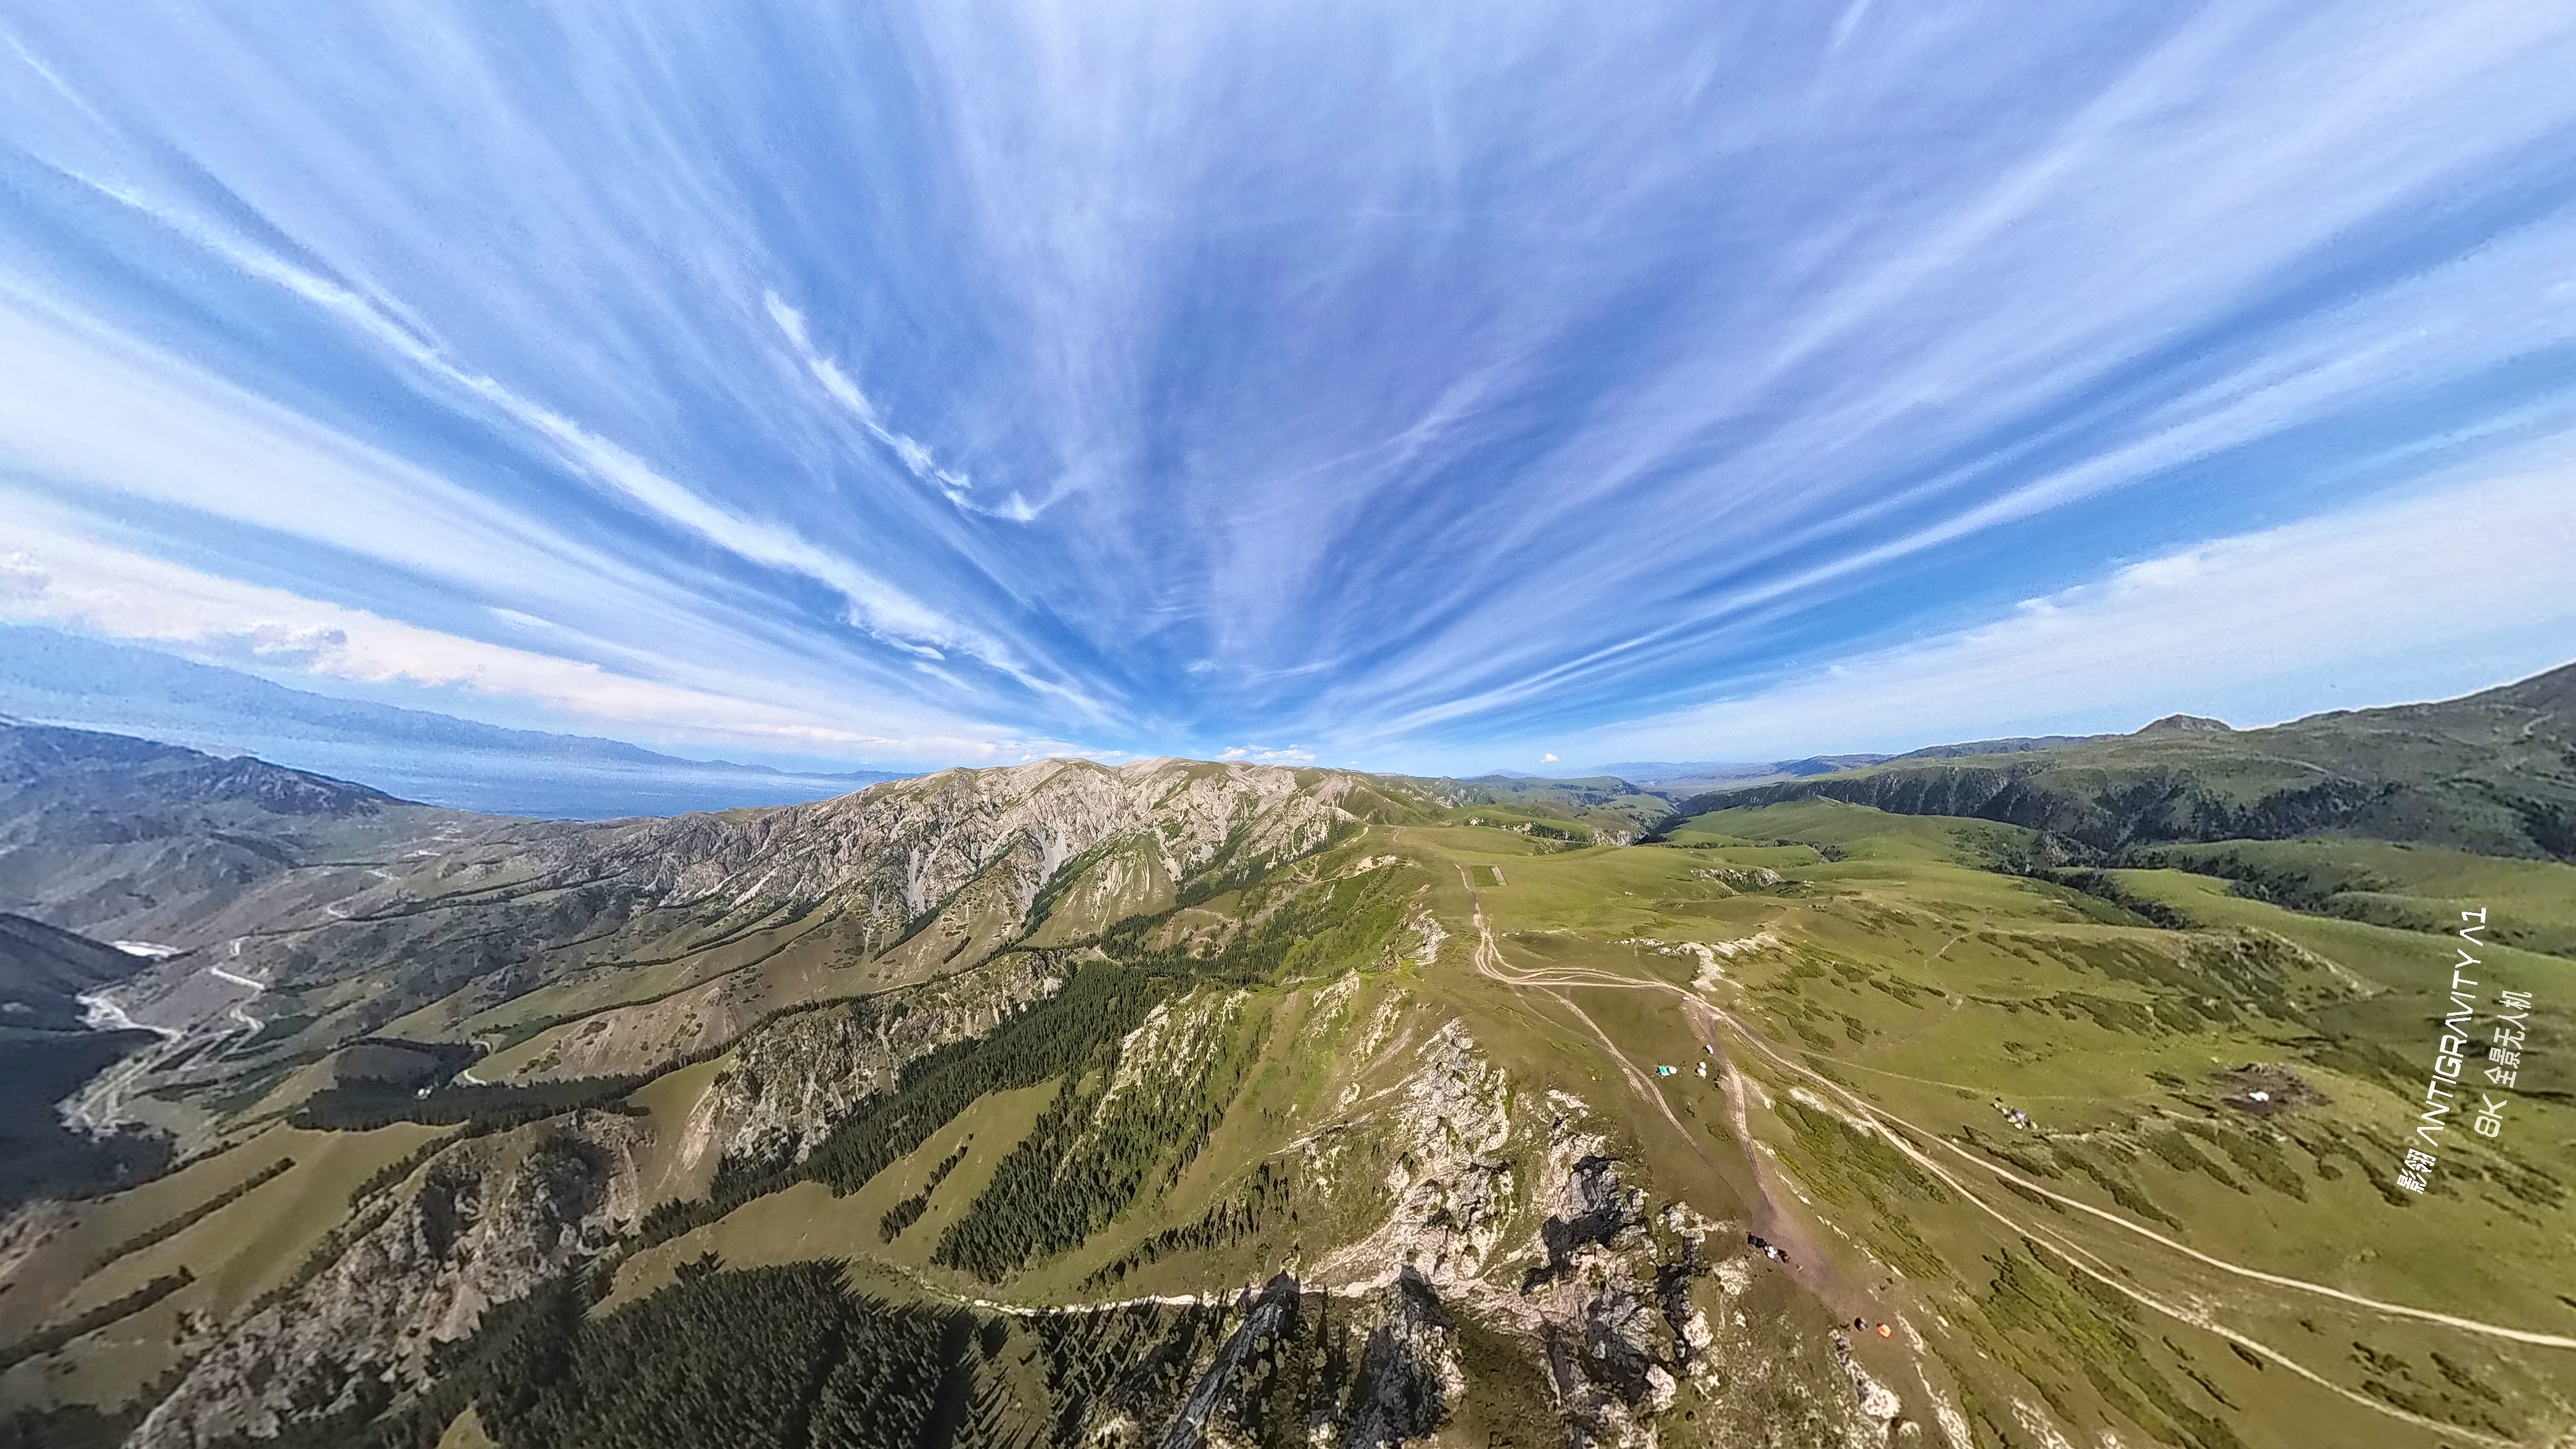
(Image source: LeiTech Photography)
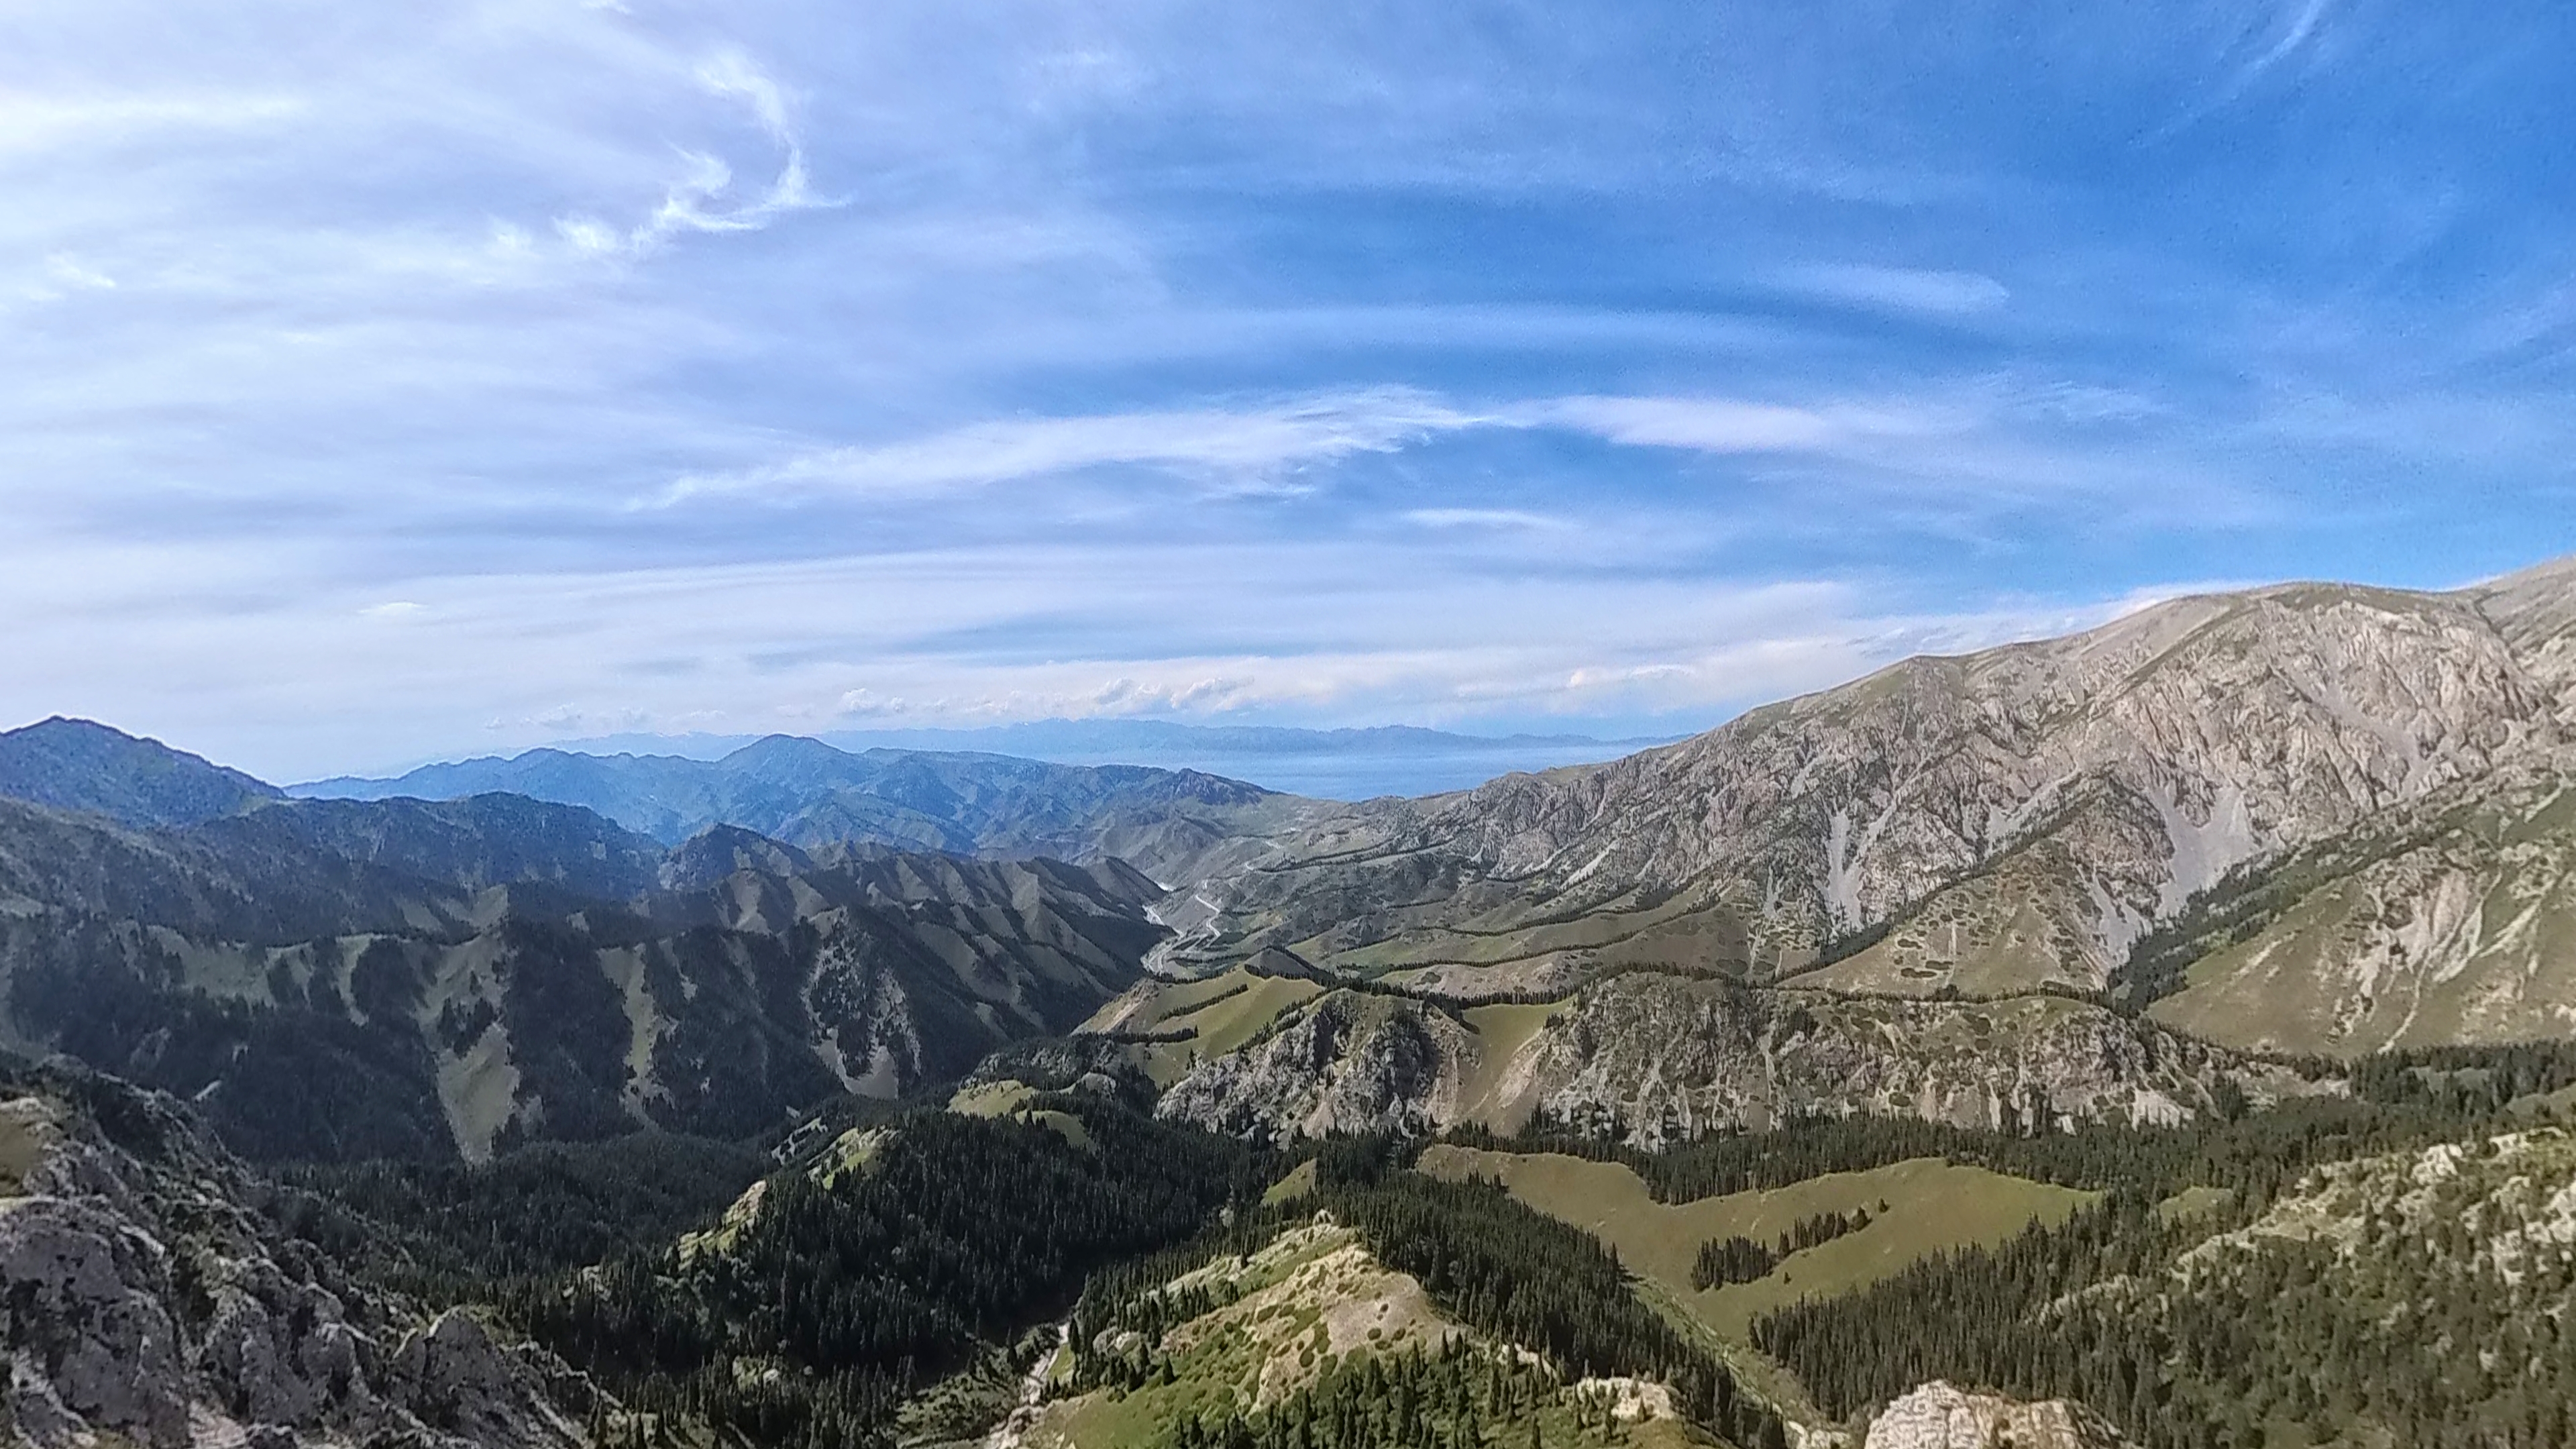
Moreover, this experience of being able to freely adjust the angle and obtain multiple pieces of material at once saves a lot of preparation time.
(Image source: LeiTech Photography)
Of course, panoramic drones also have some drawbacks of panoramic cameras. For example, the image quality at the edges of the two lenses is poor, so you still need to pay a little attention when framing.
(Image source: LeiTech Photography)
Vertical shooting with aerial photography drones has always been a significant pain point. On the one hand, many aerial photography drones do not support lossless vertical shooting (obtained through image cropping). On the other hand, users also need to switch perspectives in advance during shooting.
Thanks to the 360° unobstructed field of view, we only need to select the corresponding aspect ratio during post-editing, which will not compromise image quality and allows seamless perspective switching.
In terms of shooting style, the jpg format images straight out of the camera are closer to the environment we see with our naked eyes in terms of color, without overly increasing saturation to please the eye. However, as an aerial photography drone, I still recommend using the DNG format for shooting, which can retain more photo information and facilitate post-processing adjustments.
(Image source: LeiTech Photography)
Of course, limited by the body size and weight, the Insta360 Antigravity A1 cannot compare with some flagship drones in terms of image quality. After all, their positioning and pricing are completely different. However, for beginners who are just getting into aerial photography drones, the performance of the Insta360 Antigravity A1 is more than sufficient to meet their needs.
Many readers may think of entry-level aerial photography drones as "just able to fly and shoot," not caring about safety and intelligence. However, after purchasing them, they find that factors such as fear of crashing, hitting people, and the complexity of operation prevent them from fully utilizing the drones, leading to them being shelved or listed on second-hand platforms.
This is actually quite similar to entry-level cameras. Many photography beginners prioritize buying an entry-level camera to start with, planning to upgrade to a mid-range or flagship model as their skills improve. In fact, this is a big misconception. A camera that cannot satisfy you in multiple aspects cannot stimulate your interest in photography and cannot bring out your true potential.
As an aerial photography drone, obstacle avoidance cannot be ignored. For beginners, accurate obstacle avoidance can reduce the probability of crashing. For experienced users, obstacle avoidance allows them to shoot unique scenes more confidently.
The obstacle avoidance algorithm of the Insta360 Antigravity A1 is also somewhat different from that of mainstream drones. It is equipped with two front obstacle avoidance sensors, and users can also observe the sides of the drone through the screen in the flight goggles to ensure there are no obstacles around.
(Image source: LeiTech Photography)
During flight, when the Insta360 Antigravity A1 detects obstacles around, it will first use a yellow icon to remind the user of the obstacle's location relative to the drone. If the distance is too close, the icon will change from yellow to red, an alarm sound will be emitted, and the flight speed will be reduced. Even if you continue to push the joystick at this time, it will remain stationary to avoid crashing.
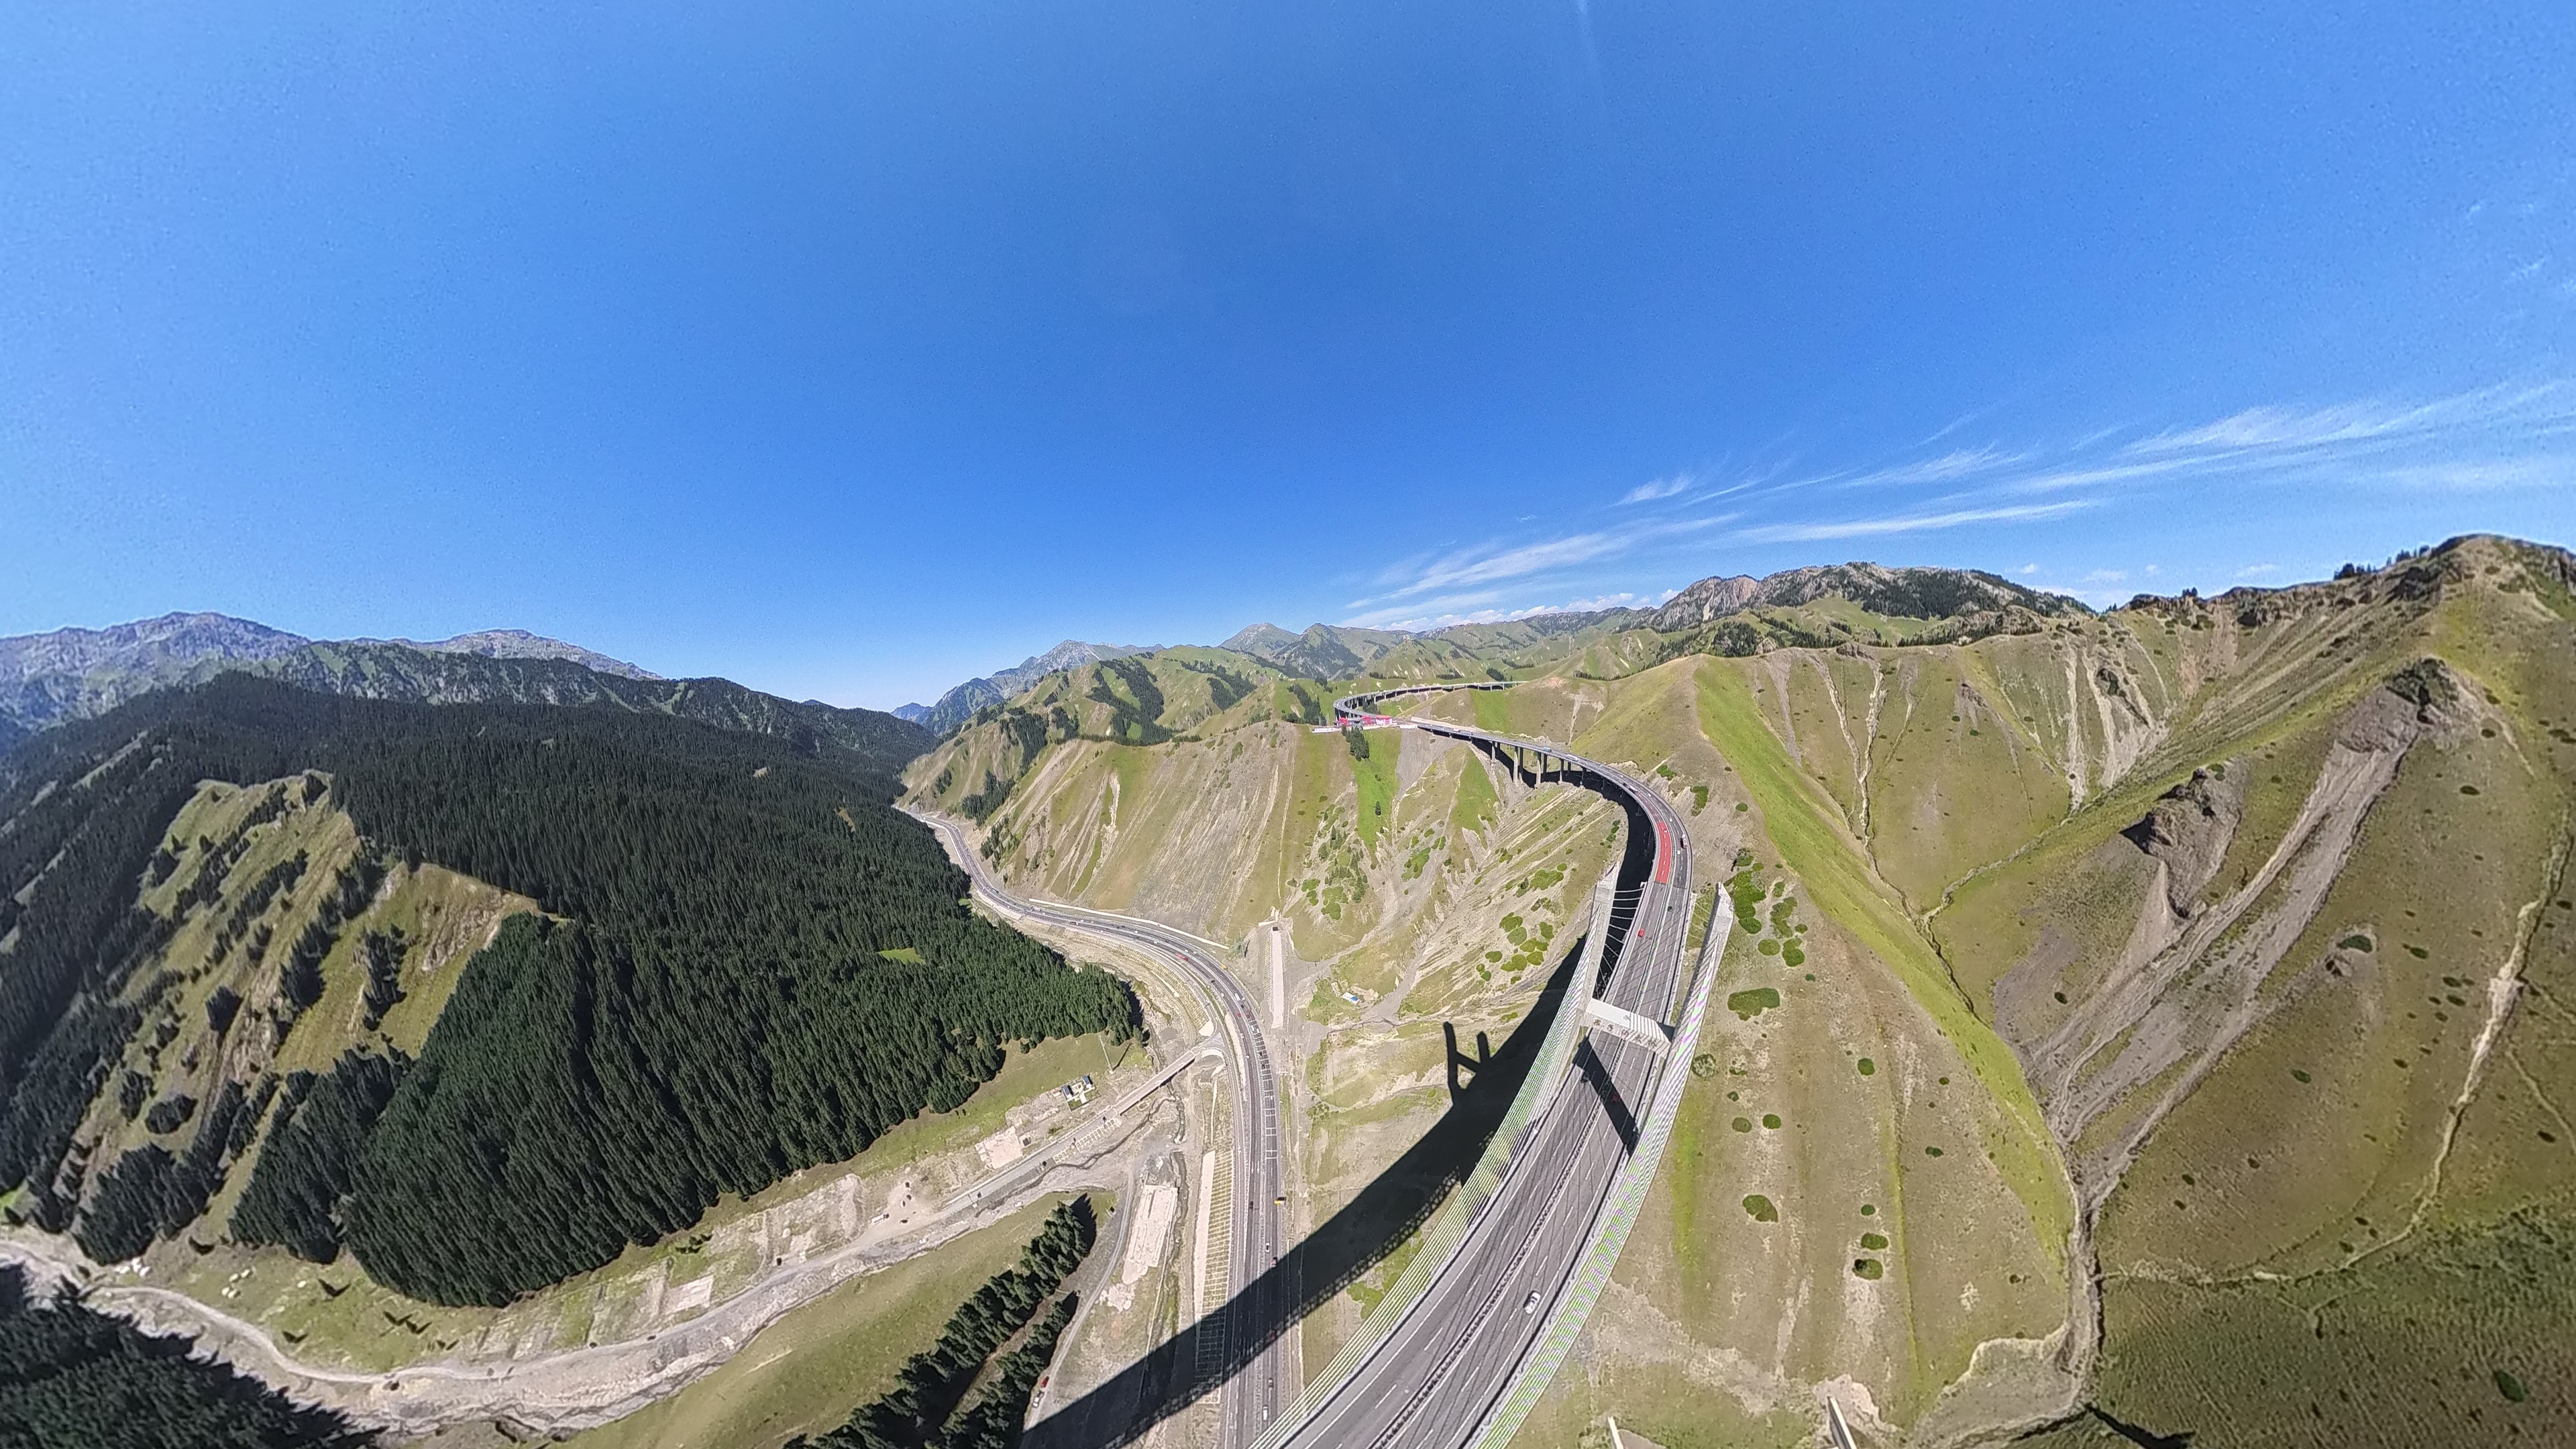
With this precise obstacle avoidance algorithm, I can confidently maneuver the drone through bridges, hills, and jungles. However, it should be noted that perhaps due to the conservative nature of the early obstacle avoidance algorithm, the frequency of icon reminders is somewhat high. Even when there are no obstacles around, it will still remind you.
(Image source: produced by Lei Technology)
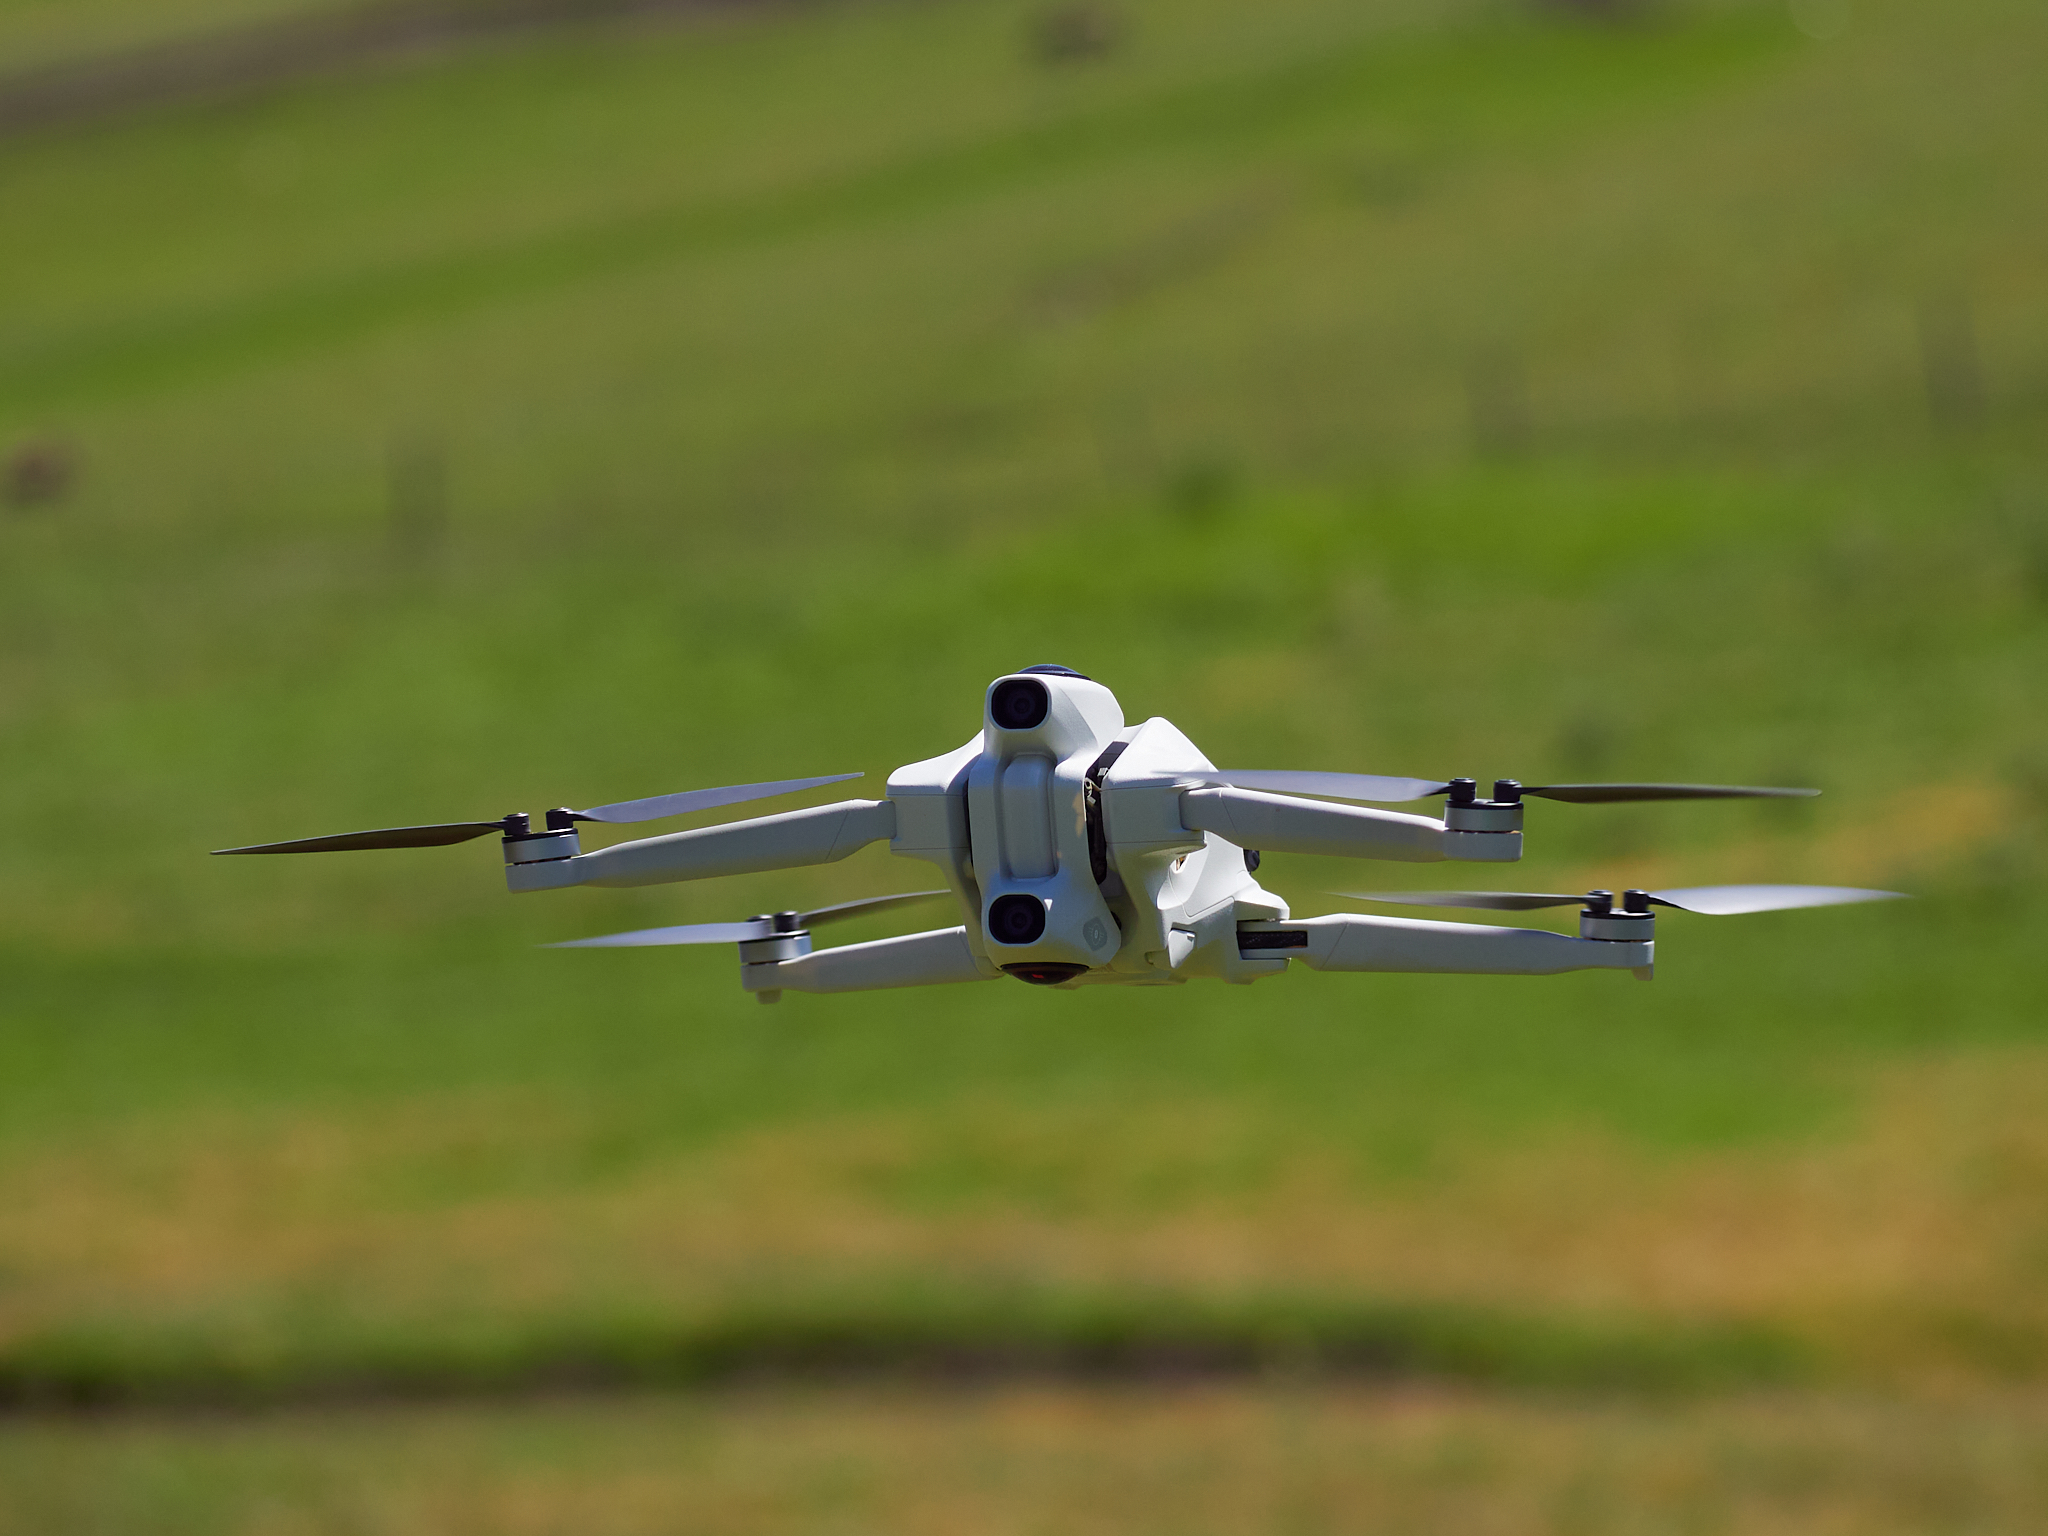
However, due to its weight and size, the Antigravity A1 from Insta360 does not fly particularly fast. In actual tests, its full-speed flight speed in sports mode is approximately 16m/s. It works well for following subjects moving at slower speeds, such as people, bicycles, and electric bikes, but it struggles to keep up with faster-moving objects like motorcycles and cars, ultimately resulting in the subject gradually leaving the frame.
Here, I must praise the panoramic shooting mode of the Antigravity A1 once more. This all-around recording method significantly reduces the user's pre-production preparation. Even if the drone fails to keep up with the subject during filming, it can still be remedied through post-production editing, rather than "having to start over if it's not captured".
(Image source: produced by Lei Technology)
Regarding battery life, the Antigravity A1 offers two battery specifications: standard and long-lasting. In actual tests conducted at an altitude of around 2000 meters, the standard version's flight time is approximately 20 minutes (though two to three minutes should be reserved for the return journey). The long-lasting version extends this to 30 minutes. Combined with the unique panoramic recording method, one or two takeoffs are sufficient to capture ample material.
After discussing image quality and obstacle avoidance, let's delve into some of the smaller details of the Antigravity A1.
Firstly, the package of the Antigravity A1 comes with a foldable mini "landing pad", with both sides colored in bright blue and orange to facilitate users in quickly locating it in open spaces and to aid in better landings.
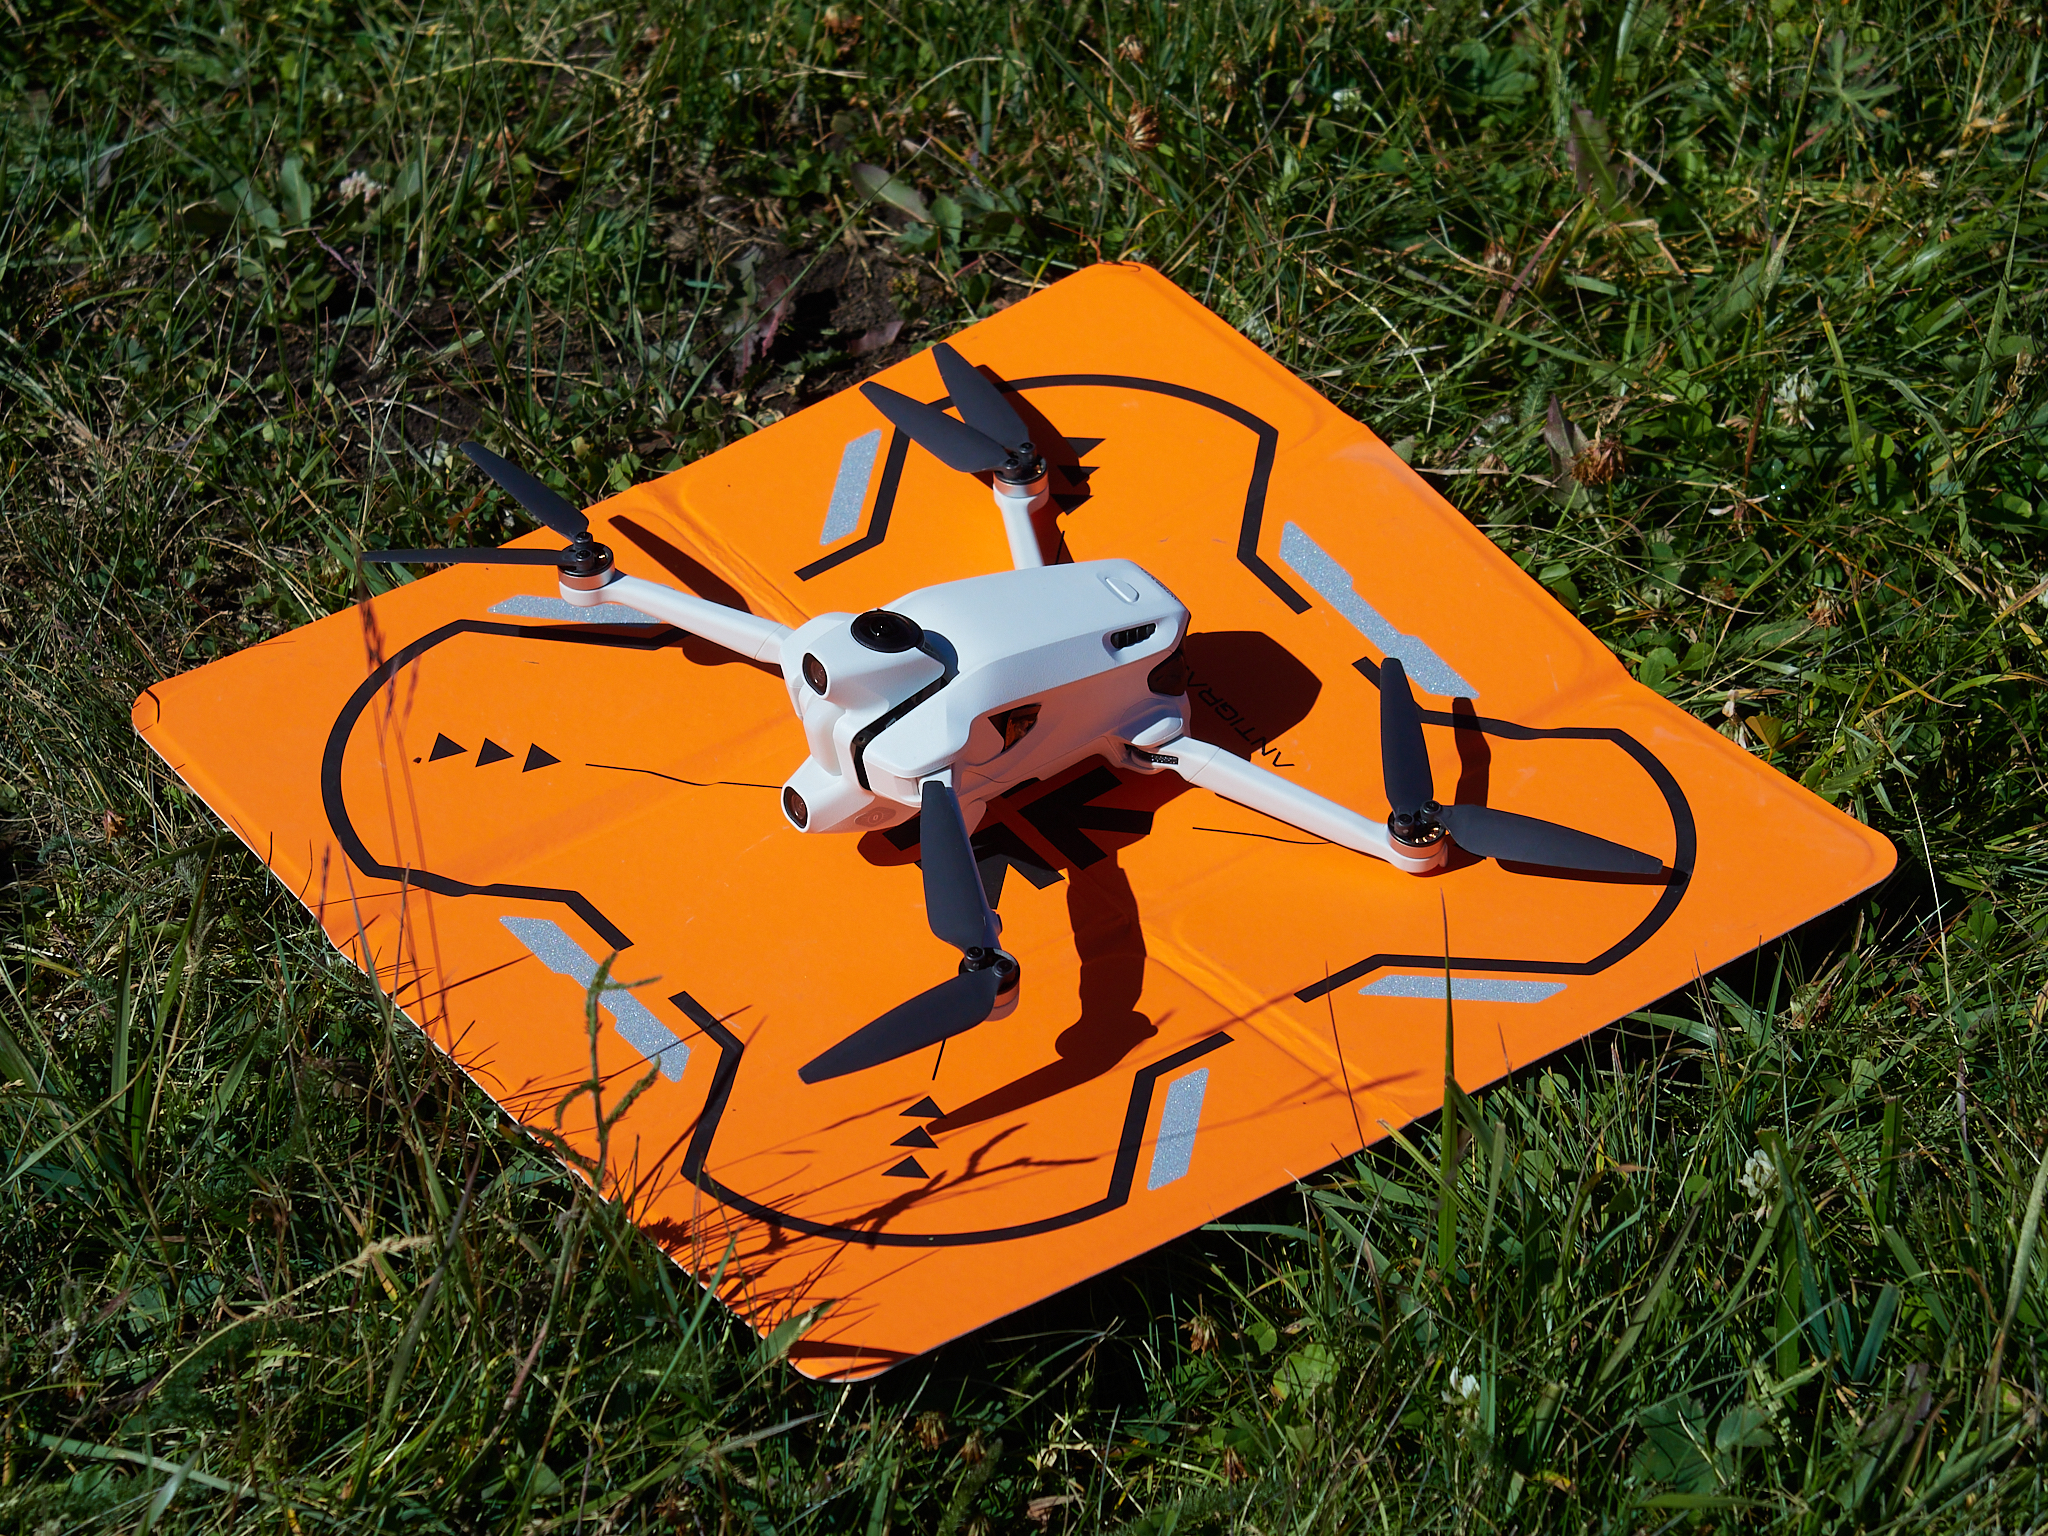
(Image source: produced by Lei Technology)
With this small accessory, you don't have to worry too much about terrain and elevation issues outdoors, truly allowing you to "fly whenever you want".
The second point is the battery pack for the flying goggles, which differs from the battery packs commonly found with VR headsets. It is not only more compact but also comes with a neck strap, eliminating the need for users to decide where to place the battery pack – simply hang it around your neck.
Even more interestingly, considering that many nearsighted users need to remove their glasses when wearing flying goggles, the neck strap has a reserved spot for glasses. Users only need to hang the temple arms on the strap, preventing the inconvenience of misplacing glasses or damaging them by placing them in pockets.
Thirdly, considering that some special groups might install unsafe items on the drone, the Antigravity A1 has a new setting: when the drone detects additional weight on its body, it will not take off normally.
(Image source: produced by Lei Technology)
As seen in the image, the Antigravity A1 with an attached weight block forcibly descends after ascending less than a meter, leaving no "chance" at all.
As per usual, here is a summary of my experience with the Antigravity A1 based on the Lei Technology review template:
Advantages:
1. A brand-new flying experience that is revolutionary.
2. The ability to adjust angles freely during post-production editing reduces the difficulty of pre-production shooting and is user-friendly for beginners.
3. The motion-sensing operation of the remote control is simpler and suitable for new users.
4. It excels in many small details that many people might overlook.
Disadvantages:
1. The remote control handle is designed for right-handed users and is not very friendly to left-handed users.
2. The built-in functions of the head-mounted display, post-production editing software, and APP are still under development, and the current experience is average.
To be honest, when I first heard that Insta360 was going to make an aerial drone, I was very skeptical. Currently, this market is almost dominated by one company. Even if Insta360 really creates a drone with product capabilities comparable to those of its competitors in all aspects, it may still fail due to factors such as brand loyalty and distrust in the first product.
(Image source: produced by Lei Technology)
Instead, Insta360 chose a path that suits itself while differentiating itself from competitors – panoramic drones. As the first panoramic drone on the market, the Antigravity A1 from Insta360 is undoubtedly a great success. Its image quality, obstacle avoidance, and unique framing method truly caught my eye. Compared to mindlessly competing on image quality and parameters, this kind of innovation is what I prefer to see.
Most of my friends are somewhat "intimidated" by aerial drones, fearing "crashes", being unable to take good photos/videos, and having the drones become idle after a few uses. To some extent, this is because early aerial drones had a high learning curve and repair costs that were not affordable for ordinary users.
The philosophy behind Antigravity is to "perfect the basics before considering professionalism". The A1 is such an aerial drone suitable for all beginners.
Although the Antigravity A1 currently has some minor issues and defects in its algorithms and functions, there is still time for them to adjust and improve.
Let's look forward to the Antigravity A1 together.
Source: Lei Technology
Images in this article are from: 123RF Licensed Image Library Source: Lei Technology
-
![]()
OFILM Reports Colossal 460 Million Yuan Loss: Founder Quietly Shifts Focus to Optical Modules!
-
![]()
Yutong Optics and Zeiss Forge Partnership to Develop Quality Measurement System and Launch "Optical Communication Joint Measurement Class"
-
![]()
AutoNavi Revises Splash Screen Ads with Precision Amid Controversy
-
![]()
Unlicensed Vehicle Disputes: AutoNavi Ensnared in the Aggregation Model
-
![]()
Agent: The 'Hard Requirement' for Entering Core Enterprise Systems for the First Time
-
![]()
Global Auto Market Outlook: Sales Decline in China, US, and Europe, Chinese Exports Approach 10 Million
-
![]()
AI Pioneer Breaks Free from the 'Doldrums'
-
![]()
Valuation Exceeds $26 Billion! Three Chinese "Gold Medalists" Shake Up the AI Industry